Best Time to Paint House Exterior
Painting & Decorating › Painting & Decorating
Best Time to Paint House Exterior
Choose the right window and your exterior paint will last years longer.
The best time to paint a house exterior in the UK is late spring to early autumn — typically May to September. Aim for dry days above 10°C with low humidity and no rain forecast for at least 24 hours. Avoid frost, direct midday sun, and damp surfaces.

Why This Season Matters
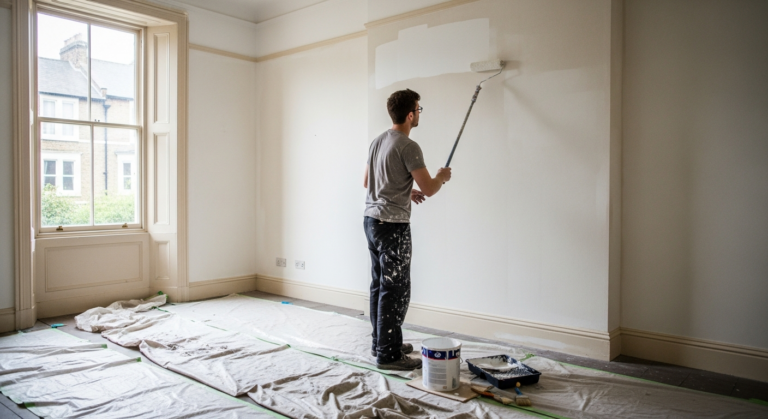
Exterior paint applied in the wrong conditions fails quickly — it blisters, peels, and lets moisture into the substrate before the film has properly cured. In the UK, the narrow window of warm, dry, frost-free weather makes timing critical in a way it simply isn’t for interior work.
Paint manufacturers’ datasheets consistently specify a minimum application temperature of around 5–10°C and a surface that is clean, dry, and free from condensation. The HSE also highlights that working at height in wet or windy conditions significantly increases the risk of falls — so good weather is a safety issue, not just a quality one. Getting the season right means fewer coats, better adhesion, and a finish that protects your home for five or more years.
Your Complete Checklist
- Check a 5-day weather forecast — no rain, above 10°C, humidity below 85%
- Inspect all exterior surfaces for cracks and fill wall cracks before painting
- Inspect and repair any wooden window frames showing rot or gaps
- Strip any flaking or peeling existing paint back to a sound surface — see our guide to stripping paint from wood
- Clean all surfaces thoroughly — pressure wash masonry, scrub timber with a stiff brush
- Allow surfaces to dry fully — a minimum of two dry days after washing
- Apply a suitable primer or stabilising solution to bare or porous masonry
- Prep and undercoat all bare timber (fascias, soffits, window frames, door frames)
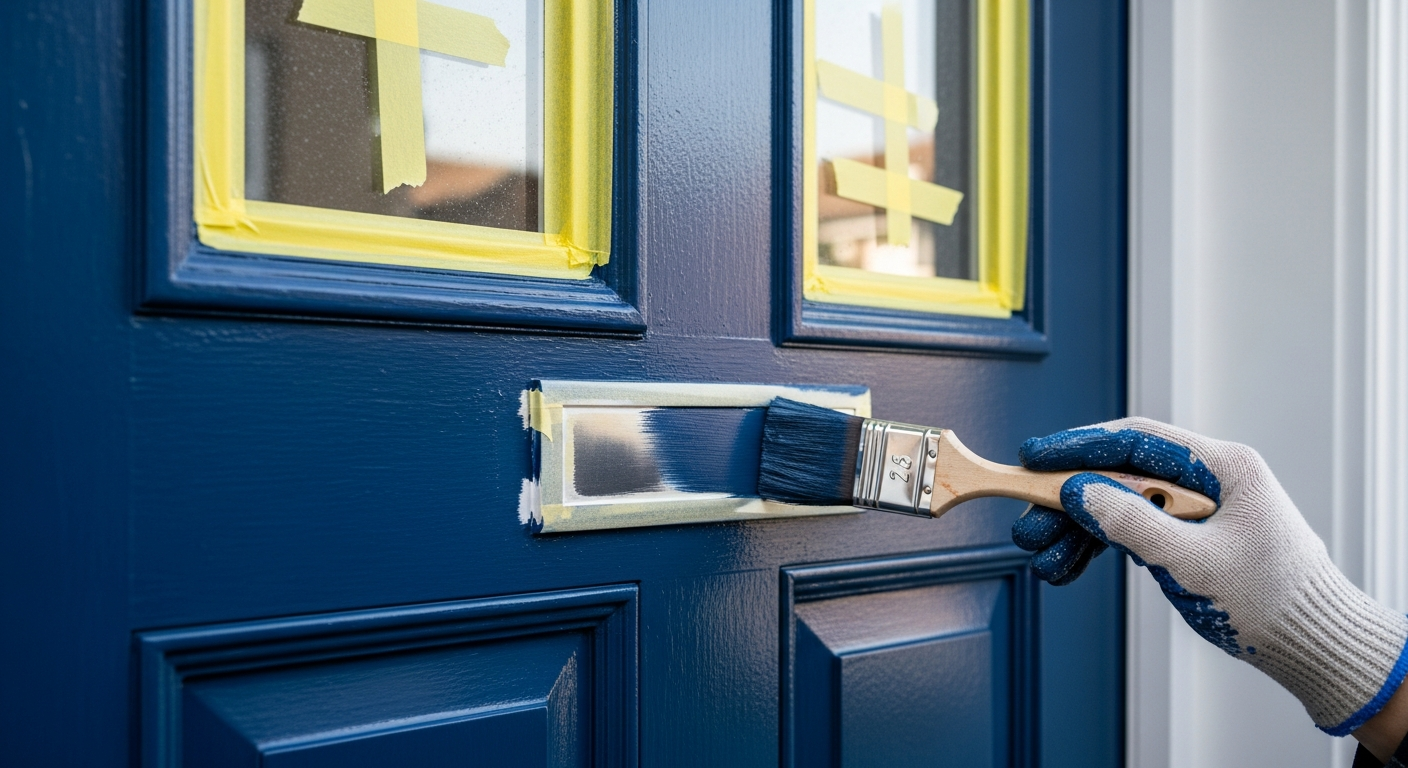
- Mask off windows, drainpipes, and any surfaces not being painted
- Apply paint in the shade where possible — start on the north or east elevation in the morning
- Apply a minimum of two full coats, allowing each coat to dry completely
- Inspect the finished job and touch up any holidays (missed patches) or runs — guidance on fixing paint drips and runs
Step-by-Step for Each Task
1. Surface preparation — masonry walls
Brush off loose material with a stiff brush, then pressure wash the entire elevation. Treat any mould or algae with a diluted fungicidal wash and leave to work for 24 hours. Fill cracks and holes with an exterior filler or render repair product, feathering the edges flat. Allow to cure fully before priming bare patches with a stabilising solution. Skipping this step is the single biggest cause of premature paint failure.
2. Repairing and priming timber
Work along every length of timber — fascias, soffits, bargeboards, and window frames. Probe with a bradawl for soft spots indicating rot. Cut out and splice in new timber where rot is significant, or use a two-part wood filler for minor damage. Sand back to a smooth surface, dust off, and apply a solvent-based primer or a specialist exterior wood primer to all bare or previously filled areas before the finish coat goes on.
3. Applying exterior masonry paint
Work in the shade and never paint in direct sunlight — the paint skins over too quickly, trapping solvent and causing bubbling. Use a large masonry brush or a thick-pile roller (18–20mm nap) for textured surfaces. Work from the top of the wall downwards in manageable sections, maintaining a wet edge. Apply the second coat only when the first is fully dry — check the manufacturer’s recoat time, typically 4–6 hours in good conditions.
4. Painting exterior woodwork
Apply gloss or satin exterior woodwork paint in thin, even coats along the grain. For windows and door frames, complete one face at a time so you can close them before the paint becomes tacky. Two coats of finish over a sound primer is the minimum; three coats on south-facing timber exposed to full sun is better practice. See our full guide to painting exterior walls for more detail on sequence and technique.
Tools and Materials You’ll Need
- Pressure washer or hose with stiff scrubbing brush
- Fungicidal wash/biocide solution
- Exterior filler (flexible, weather-resistant type for masonry)
- Two-part wood filler or epoxy repair product for timber
- Stabilising solution or masonry primer
- Exterior wood primer / undercoat
- Exterior masonry paint (smooth or textured to match existing finish)
- Exterior gloss or satin finish for timber
- Large masonry brush (150mm) and thick-pile roller with extension pole
- Medium-sized cutting-in brush (50–75mm)
- Fine woodwork brush (25–50mm) for timber detail
- Painter’s masking tape
- Dust sheets and plastic sheeting to protect windows, paths, and planting
- Scaffold tower, ladder, or access platform (appropriate for height)
- Safety helmet, non-slip footwear, and gloves
- Sandpaper (80-grit and 120-grit)
Common Mistakes to Avoid
- Painting on a damp surface. Even if it looks dry after rain, masonry retains moisture for days. Use a moisture meter or wait at least 48 hours of dry weather after rain before applying any coat.
- Ignoring the temperature at night. If overnight temperatures are forecast to drop below 5°C within 24 hours of application, the paint film will not cure correctly — this is a common spring and autumn error in the UK.
- Skipping the primer on bare or repaired areas. Applying finish coat directly to bare masonry or fresh filler causes uneven sheen, patchy colour, and poor adhesion. Always prime bare patches first.
- Working in direct sunlight. Painting a south-facing wall at midday in summer causes the surface to skin over before the paint has properly levelled, leading to brush marks, bubbles, and poor film formation.
- Underestimating surface preparation time. Most experienced decorators spend as much time on preparation as on painting. Rushing the prep — especially on timber — is the fastest route to a finish that peels within a season.
Frequently Asked Questions
What is the minimum temperature for painting a house exterior in the UK?
Most exterior paints require a minimum air and surface temperature of 5–10°C, with the surface temperature staying above that threshold for several hours after application. Always check the specific product datasheet, as water-based masonry paints are particularly sensitive to cold.
Can I paint the outside of my house in autumn?
Early autumn (September to mid-October) can work if you have a run of dry, mild days above 10°C, but the window is short. Avoid painting once temperatures start dropping towards single figures overnight, as the paint film will not cure correctly.
How long does exterior house paint last in the UK?
A well-prepared and properly applied exterior paint system typically lasts 5–10 years on masonry and 4–6 years on timber before repainting is needed, depending on exposure, product quality, and how well the surface was prepared.
How many coats of paint does exterior masonry need?
Generally two full coats of exterior masonry paint are the minimum, applied over a primed or stabilised surface. Highly porous or previously bare masonry may benefit from a diluted first coat to aid penetration, followed by two full-strength coats.
Do I need scaffolding to paint my house exterior?
For a two-storey property, a scaffold tower or hired mobile scaffolding is strongly advisable — working from ladders for extended periods at height significantly increases fall risk. The HSE recommends planning work at height carefully and using the most stable access equipment practical for the job.
When painting rendered or pebble-dash walls, apply your first coat in a slightly thinned mix (5–10% with clean water for water-based products) — this penetrates the substrate and creates a bonding layer that dramatically reduces the risk of the topcoat lifting on south-facing elevations after a hot summer. Check your product datasheet first, as not all masonry paints are suitable for thinning.
Sources
- HSE — Working at height: a brief guide — hse.gov.uk
- Which? — How to paint exterior walls — which.co.uk
- Painting & Decorating Association — Advice on exterior painting conditions — paintingdecoratingassociation.co.uk
This guide is for general information only. Always work safely and follow manufacturer instructions. DIYnut accepts no liability for injury or damage arising from DIY work.