How to Remove a Radiator – DIY Guide
To remove a radiator, close both valves — the thermostatic valve and the lockshield valve — then undo the union nuts at each valve to drain the radiator into a bowl. Lift the radiator off its wall brackets once empty. No need to drain the whole heating system.


- Adjustable spanner
- Radiator bleed key
- Bucket or large bowl
- Old towels or dust sheets
- Flathead screwdriver
- Pipe grips or pliers
- PTFE tape
- PTFE tape
- Radiator bleed screw (if replacing)
- Replacement olive (if union nut leaks on reassembly)
- Plastic sheeting or dust sheet
- Cable ties (to secure valves while radiator is off)
Step-by-Step Guide
Close the Thermostatic Valve
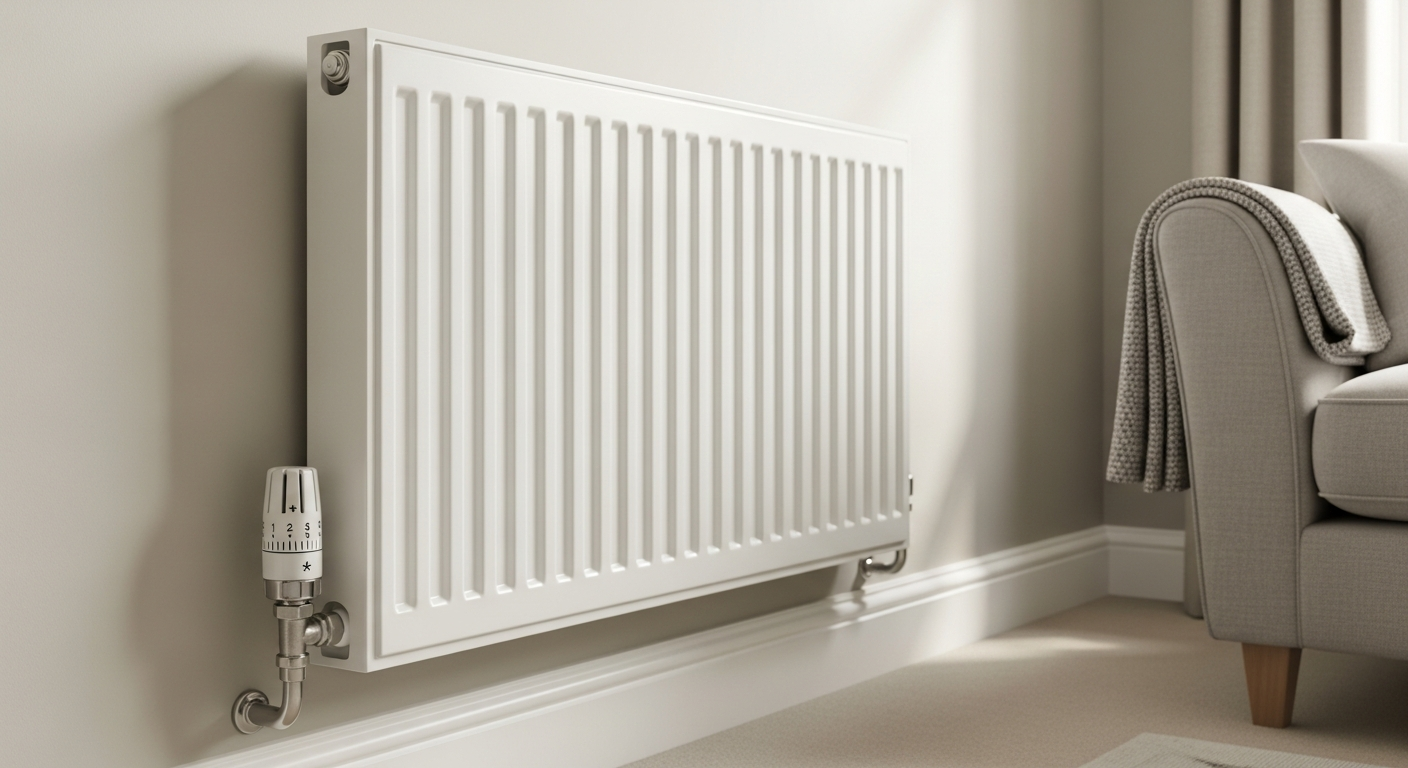
Turn the thermostatic radiator valve (TRV) — usually on the flow pipe at one end of the radiator — fully clockwise to the closed or zero position. This isolates that side of the radiator from the heating circuit without touching the boiler or draining the system. If the valve head is stuck, remove the TRV head and use a flathead screwdriver or pliers to turn the pin clockwise until it stops. If you are unsure which pipe is which, our plumbing complete guide explains heating circuit flow and return pipework clearly.
Close the Lockshield Valve
Remove the plastic cap from the lockshield valve at the other end of the radiator. Use an adjustable spanner or pliers to turn the spindle clockwise until it is fully closed. Count and note the number of turns — you will need to open it by the same amount when you refit the radiator, which is essential for keeping your system balanced. This is the same principle covered in detail on our guide to balancing radiators.
Open the Bleed Valve and Drain the Radiator
Position a bucket or large bowl beneath one of the valve union nuts at the base of the radiator. Using a radiator bleed key, open the bleed valve at the top of the radiator by a quarter turn — this breaks the vacuum and allows water to drain freely when you loosen the union nut. Slowly undo the union nut on the TRV side with an adjustable spanner. Water will flow into your bucket; allow it to drain fully before moving to the other end. Have towels ready — there will always be residual water.
Undo Both Union Nuts
Once the TRV side has drained, undo the union nut on the lockshield valve side in the same way. Hold the valve body steady with a second spanner while you turn the union nut to avoid stressing the pipework. If either union nut is corroded and will not budge, apply penetrating oil and allow 10–15 minutes before trying again. Do not use excessive force — a damaged valve body will cause a leak at the pipe joint. If you find a weeping joint once the radiator is off, our guide to fixing a leaking pipe joint covers the repair.
Lift the Radiator Off Its Brackets
With both union nuts disconnected and the radiator drained, tilt the top of the radiator towards you and lift it straight up off the wall brackets. Radiators are heavy — a standard single panel radiator can weigh 10–20 kg and a double panel significantly more, so have a second person to help or use a radiator lifting tool. Once down, carry it flat and lay it on dust sheets away from the work area. Cap or wrap the open valve bodies with plastic bags secured with cable ties to prevent residual water dripping onto the floor while the radiator is off.
Reinstate or Make Good
If you are refitting the same radiator, wrap fresh PTFE tape onto the male threads of the valve tails before reconnecting, and tighten the union nuts firmly without over-torquing. Reopen the lockshield valve by exactly the number of turns you recorded, and reopen the TRV. Close the bleed valve, then open the bleed screw briefly to purge any trapped air before closing it again. Check both valve connections for leaks once the heating is running. If the radiator is being removed permanently, fit blanking plugs to the valve outlets and leave the valves in the closed position. If you notice the system pressure has dropped after the work, see our guide on how to repressurise a boiler .
Frequently Asked Questions
Do I need to drain the whole heating system to remove a radiator?
No. As long as both the TRV and lockshield valves are fully functional and can be closed, you can isolate and remove a single radiator without touching the rest of the system. Only drain the full system if the valves are seized or you are removing multiple radiators at once.
Can I remove a radiator without turning off the boiler?
You should turn the boiler and heating system off before you start so the pipework is cold and depressurised — working on hot pressurised pipework significantly increases the risk of scalding and makes leaks harder to control. Let the system cool for at least an hour first.
How do I know which valve is the flow and which is the return?
On most UK systems, the TRV is fitted on the flow pipe (the pipe that brings hot water in) and the lockshield on the return, though this can vary. If you are unsure, feel both pipes when the heating is running — the flow pipe will be noticeably hotter than the return. Our fix a cold radiator guide also explains flow and return identification.
Will removing a radiator affect my boiler pressure?
Yes, you will lose some water from the system when you disconnect the radiator, which can drop the system pressure below the normal 1–1.5 bar range. Check the pressure gauge on your boiler after refitting the radiator and top up via the filling loop if needed.
Is it safe to remove a radiator myself, or do I need a plumber?
Removing a radiator using the valve isolation method is a legitimate DIY task for a competent homeowner — it does not involve Gas Safe or notifiable work. However, if your valves are seized, the pipework is corroded, or you need to fix a leaking radiator valve as part of the job, calling a qualified plumber is the safer option. WaterSafe-registered plumbers can be found at watersafe.org.uk.
Before loosening any union nut, grip the valve body with a second spanner held completely still — this prevents the valve from rotating and cracking the soldered or compression joint behind it on the pipe. A cracked joint behind the valve turns a simple radiator swap into a full pipe repair job.
Sources
- HSE — Work safely with hot and cold water systems — hse.gov.uk
- WaterSafe — Find a plumber and water regulations guidance — watersafe.org.uk
- Which? — How to bleed a radiator and radiator maintenance — which.co.uk
Safety Notice: Electrical and plumbing work can be dangerous if done incorrectly. In the UK, certain electrical work must comply with Part P of the Building Regulations and certain plumbing work with Part G. If in doubt, consult a qualified electrician (NICEIC/NAPIT registered) or plumber (CIPHE/WaterSafe registered). This guide is for general information only — it is not a substitute for professional advice.


