How to Replace a Tap Washer – DIY Guide
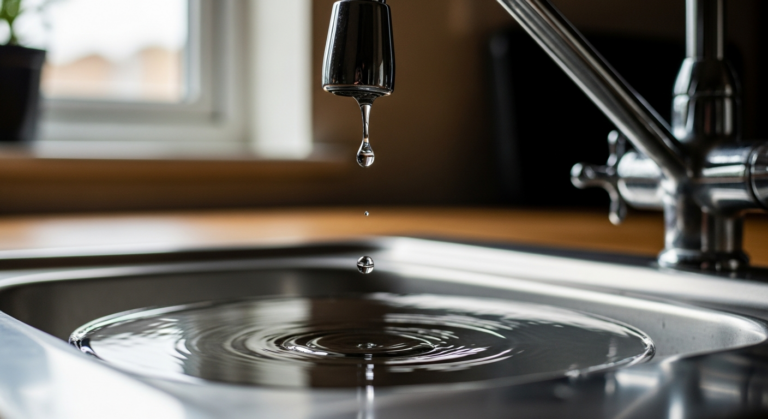
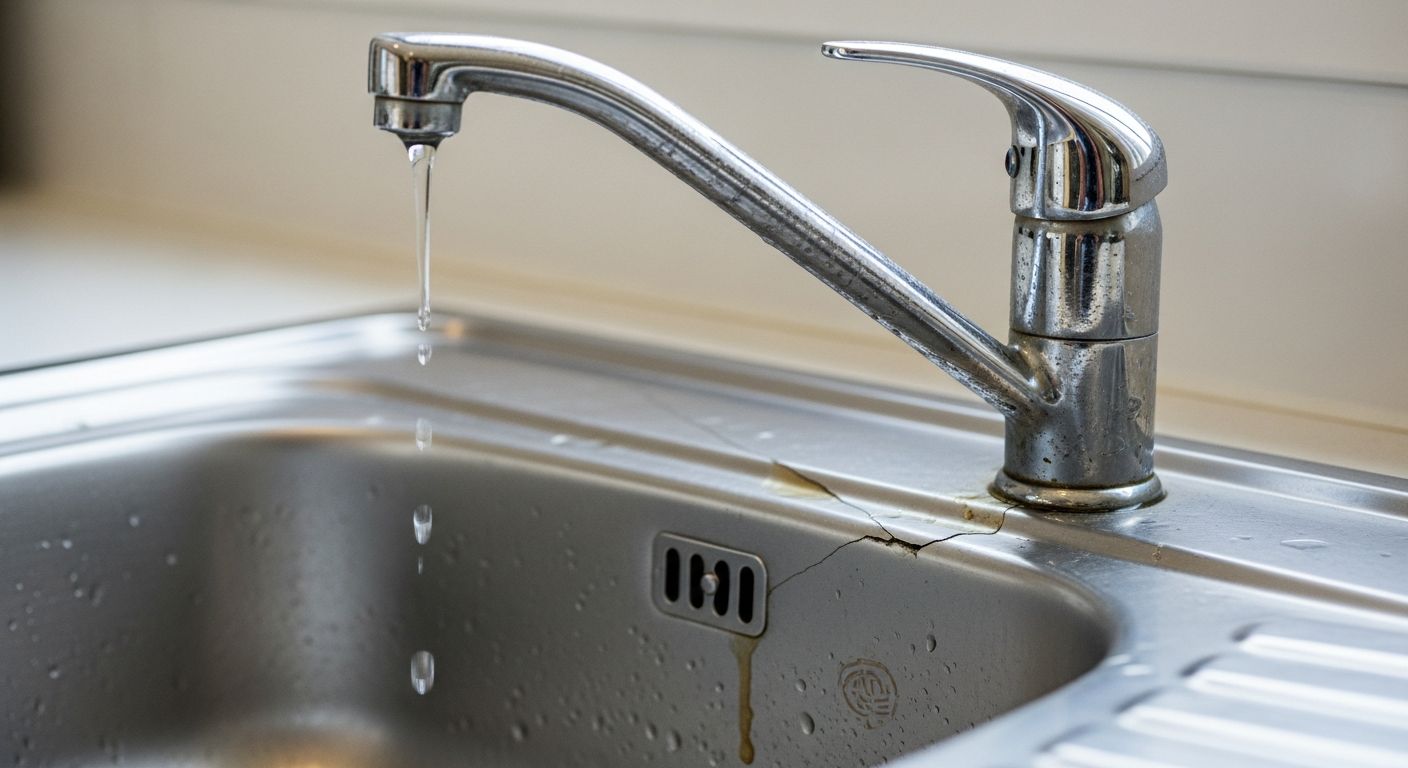
To replace a tap washer, turn off the water supply, remove the tap handle and headgear, swap the old washer for a new one of the same size, then reassemble and restore the water. The whole job takes under an hour and costs under £5.
- Adjustable spanner
- Flat-head screwdriver
- Cross-head screwdriver
- Slip-joint pliers
- Small cloth or rag
- Torch
- Replacement tap washer (correct size)
- Replacement O-ring (same diameter as original)
- Plumber’s grease
- PTFE tape
- Small bowl or towel (for residual water)
Step-by-Step Guide
Turn Off the Water Supply
Locate the isolator valve on the supply pipe directly beneath the tap and turn it 90 degrees with a flat-head screwdriver until the slot sits across the pipe — that means closed. If there is no isolator valve, turn off the mains stopcock, usually found under the kitchen sink or where the supply enters the property. Once closed, open the tap fully to drain any residual water from the line. If you’re unsure how to isolate the water for a dripping tap, follow that process first before touching the tap itself.
Remove the Tap Handle and Shroud
Prise off the decorative cap on top of the tap handle — it usually pops off with a flat-head screwdriver wrapped in a cloth to avoid scratching the chrome. Underneath you will find a retaining screw; remove it and lift the handle straight off. Unscrew the shroud (the decorative collar) by hand or with slip-joint pliers padded with a cloth. This exposes the tap headgear below.
Unscrew the Tap Headgear
Use an adjustable spanner to unscrew the hexagonal headgear nut in an anticlockwise direction. Hold the tap body steady with your other hand so you do not stress the supply pipework. Lift the headgear out completely — you will see the jumper and washer assembly at its base. Some older taps have the jumper seated loosely inside the tap body rather than fixed to the headgear, so check both locations before assuming it is missing. For more background on how tap internals work, our complete plumbing guide covers tap anatomy in detail.
Replace the Washer and O-ring
The washer is held onto the jumper by a small brass nut — undo it with pliers, lever off the old washer, and press the new one firmly into place. Match the diameter exactly: common sizes are 12 mm (half-inch tap) and 19 mm (three-quarter-inch tap). While the headgear is out, inspect the O-ring that seals the headgear body — if it looks flattened or cracked, pull it off and roll a new one of the same diameter into the groove. Apply a thin smear of plumber’s grease to the new O-ring before reassembly. This is the same principle used when you replace a kitchen tap — correct seating prevents weeping joints.
Reassemble the Tap and Restore the Water
Wind two or three turns of PTFE tape clockwise around the headgear thread, then screw the headgear back into the tap body by hand first before tightening with the spanner — firm, not overtightened. Refit the shroud, handle, and decorative cap. Slowly reopen the isolator valve or mains stopcock. Turn the tap on and off once to check for drips around the headgear and at the base of the spout. A slow, steady reopening of the supply prevents water hammer — a banging noise caused by sudden pressure surges. If water hammer is an ongoing issue, see our guide on fixing a dripping tap for further checks.
Frequently Asked Questions
How do I know what size tap washer I need?
Remove the old washer and take it to a plumber’s merchant to match it physically — sizes vary between 12 mm, 15 mm, and 19 mm. Buying a mixed washer pack is the easiest way to ensure you have the right size to hand before you start.
My tap is still dripping after I replaced the washer — what’s wrong?
If a new washer does not stop the drip, the tap seat inside the tap body is likely corroded or pitted. A tap reseating tool (available from most plumber’s merchants) can re-grind the seat flat, or the tap may need replacing entirely. You can also follow our dripping tap guide for further diagnosis steps.
Do I need to turn off the mains to replace a tap washer?
Not necessarily — if an inline isolator valve is fitted beneath the tap, you only need to close that. If no isolator is present, you must turn off the mains stopcock before removing the headgear.
Can I replace a tap washer on a mixer tap?
Yes, but mixer taps often use ceramic disc cartridges instead of rubber washers. If turning the headgear reveals a ceramic cartridge rather than a jumper-and-washer assembly, the cartridge needs replacing rather than the washer — the process is slightly different.
Is replacing a tap washer a job I need a plumber for?
No — replacing a tap washer on a standard tap is a straightforward DIY task that requires no specialist qualifications. However, if the work involves connecting or altering supply pipework, WaterSafe-registered plumbers are recommended by the water industry to ensure compliance with Water Supply (Water Fittings) Regulations 1999.
Before reassembling, run your fingertip around the inside of the tap seat — if you can feel any ridges or pitting, no washer will seal it properly long-term. A tap reseating tool costs around £10 and takes two minutes to restore a flat seat, saving you from having to replace the whole tap.
Sources
- WaterSafe — Find a plumber and water regulations guidance — watersafe.org.uk
- HSE — Water Supply (Water Fittings) Regulations 1999 — hse.gov.uk
- Which? — How to fix a dripping tap — which.co.uk
Safety Notice: Electrical and plumbing work can be dangerous if done incorrectly. In the UK, certain electrical work must comply with Part P of the Building Regulations and certain plumbing work with Part G. If in doubt, consult a qualified electrician (NICEIC/NAPIT registered) or plumber (CIPHE/WaterSafe registered). This guide is for general information only — it is not a substitute for professional advice.