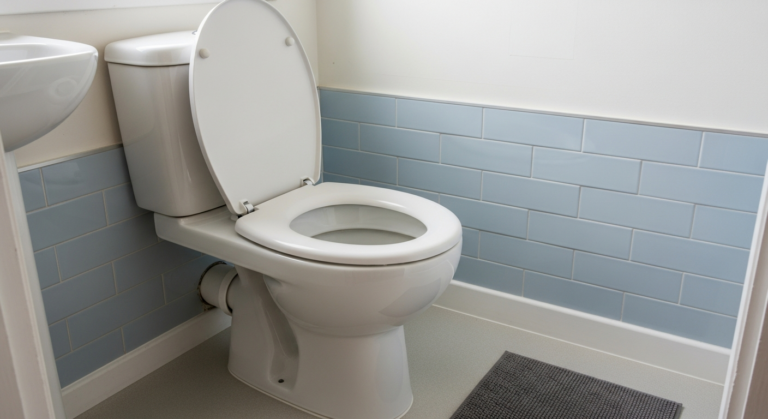
How to Fix a Toilet That Won’t Flush – DIY Guide
Fix a toilet that won’t flush by checking the cistern: inspect the flush valve, float arm, fill valve, and flush handle linkage. Most faults are caused by a broken or disconnected component inside the cistern and can be fixed in under an hour with basic tools.

Shut Off the Water Supply and Empty the Cistern
Turn off the isolation valve on the supply pipe feeding the cistern — a flat-head screwdriver turned 90 degrees clockwise will close it. If there is no isolation valve, turn off the mains stopcock. Flush the toilet once to empty the cistern, then soak up any remaining water with a towel or small container. Working with a dry cistern prevents mess and lets you see all the components clearly. If you’re unsure how to isolate the supply, follow our step-by-step guide on how to turn off the water supply.
Inspect the Flush Valve and Handle Linkage
Remove the cistern lid and check the connection between the flush handle and the flush valve. In most UK close-coupled toilets this is a plastic or metal arm linked to a siphon unit or drop valve by a chain or rod. If the chain or link is broken, detached, or too slack to lift the valve, that is almost certainly your fault. Reconnect a detached chain, shorten a slack chain by moving the hook to a higher link, or replace a snapped link with a new one — these are sold individually at most plumbers’ merchants.
Replace the Flush Valve If Worn or Seized
If the linkage is intact but pressing the handle still doesn’t flush, the flush valve (siphon diaphragm on older toilets, drop valve on newer ones) needs replacing. For a siphon, unscrew the large nut underneath the cistern that holds the siphon to the flush outlet, lift the siphon out, and replace the rubber diaphragm — a repair kit costs around £3–£5. For a drop valve, twist and lift it out of its seat and fit a direct replacement. A faulty flush valve is also a common cause of a running toilet, so inspect the seal carefully while you have it out.
Check and Adjust the Float and Fill Valve
If the cistern isn’t filling enough to flush, the water level is too low. Check the float arm — if it is bent downwards or the float ball is waterlogged, the fill valve shuts off too early. Gently bend the float arm upward on older ball-valve cisterns to raise the water level, or adjust the adjustment screw on modern fill valves. The water level should sit roughly 25 mm below the top of the overflow tube. If the fill valve is cracked, corroded, or fails to shut off reliably, replace the whole unit — it’s a straightforward swap and fill valve kits are widely available. A failing fill valve can also contribute to low water pressure symptoms in the cistern.
Restore the Water Supply and Test the Flush
Once all components are reinstated, slowly reopen the isolation valve and allow the cistern to fill completely. Watch the fill valve shut off at the correct water level and confirm there are no drips from the flush valve seat or the underside of the cistern. Flush the toilet two or three times to confirm a full, strong flush each time. Replace the cistern lid and dry the outside of the cistern to make sure any residual moisture doesn’t mislead you into thinking there’s a leak. If you also notice the cistern is making noise or refilling slowly, our guide on replacing a toilet cistern covers a full unit swap.
Frequently Asked Questions
Why is my toilet cistern filling but still not flushing?
The most common cause is a broken or disconnected linkage between the flush handle and the flush valve. Open the cistern lid and check that the chain or arm connecting the handle to the siphon or drop valve is intact and correctly attached — a disconnected chain is the single most frequent fault.
How do I know if I have a siphon or drop valve cistern?
Siphon cisterns are more common in older UK toilets and use a vertical plastic unit with a rubber diaphragm inside. Drop valves (also called flapper valves) are standard in modern dual-flush cisterns and sit at the base of the cistern. If your toilet has a dual-flush button on top, you have a drop valve system.
Can I fix a toilet that won’t flush without turning off the water?
No — you should always isolate the water supply before working inside the cistern. It takes less than a minute and prevents accidental overflow. Locate the isolation valve on the supply pipe behind or beneath the toilet, or use your home’s main stopcock.
My flush handle snapped off — is that a DIY fix?
Yes, replacing a flush handle is straightforward. Replacement handles are sold as universal kits or toilet-specific parts. Unscrew the old handle mounting nut inside the cistern, fit the new one, and reconnect the linkage to the flush valve — the whole job typically takes under 20 minutes.
When should I call a plumber instead of fixing it myself?
If the cistern itself is cracked, if there is visible corrosion on the supply pipe fittings, or if the pan-to-cistern seal is leaking despite replacement, it is worth getting a WaterSafe-registered plumber to assess the situation. Any concerns about work compliance can be checked at WaterSafe.org.uk.
When replacing a siphon diaphragm, take the old one to the merchants with you rather than guessing the size — siphon diameters vary between 7.5 cm and 10 cm and the wrong size will never seal correctly. While the cistern is empty, run your finger around the flush valve seat for any grit or mineral scale, and wipe it clean before fitting the new component — scale on the seat is responsible for a significant number of ‘new valve, still leaking’ callbacks.
Sources
- WaterSafe — Find a qualified plumber and plumbing guidance — watersafe.org.uk
- HSE — Safe working in domestic plumbing — hse.gov.uk
- Which? — How to fix a toilet that won’t flush — which.co.uk
Safety Notice: Electrical and plumbing work can be dangerous if done incorrectly. In the UK, certain electrical work must comply with Part P of the Building Regulations and certain plumbing work with Part G. If in doubt, consult a qualified electrician (NICEIC/NAPIT registered) or plumber (CIPHE/WaterSafe registered). This guide is for general information only — it is not a substitute for professional advice.