How to Fix a Leaking Flat Roof – DIY Guide
How to Fix a Leaking Flat Roof
Stop a flat roof leak fast and protect your property from water damage.
Fix a leaking flat roof by locating the breach, cleaning the area, cutting away damaged felt or membrane, and applying a compatible patch with lap sealant or self-adhesive flashing tape bonded under heat. Allow full cure before testing in rain.


Clear and Prepare the Damaged Area
Remove any standing debris, moss, and dirt from the repair zone using a stiff bristle brush. If the existing felt or membrane is blistered, cut it open cleanly with a utility knife, peel back the flaps, and allow any trapped moisture to escape and evaporate fully — damp substrate is the single most common cause of repair failure. Once dry, abrade the surface with wire wool or an abrasive pad to remove loose material and give the patch a key to bond to.
Cut Away and Remove Damaged Membrane
Mark a clean rectangle around the damage using a chalk line, extending at least 150 mm beyond the visible defect on all sides. Cut through the old felt or membrane with a utility knife and remove the section entirely. If the underlying decking is soft, wet, or rotten, it must be replaced before patching — applying a membrane over failing decking will not hold. Check the timber and replace any sections showing decay with exterior-grade board of matching thickness.
Apply Bitumen Primer and Bed the Repair Patch
Coat the prepared area and 150 mm beyond the repair boundary with bitumen primer, working it into the edges of the existing membrane. Allow the primer to become touch-dry — typically 20 to 30 minutes in mild conditions. Cut your repair patch to overlap the primed area by at least 75 mm on all sides. For felt repairs, warm the underside with a hot air gun until it becomes tacky and press it firmly into place, rolling out air with a roller as you go. For self-adhesive flashing tape, peel the backing and press down firmly from the centre outward. Seal all edges with lap sealant applied with a caulking gun.
Seal Upstands, Outlets, and Flashings
Most flat roof leaks occur at junctions rather than in the field of the membrane — check every upstand where the membrane meets a parapet wall, around any outlet pipes, and along any lead or aluminium flashing. Apply self-adhesive flashing tape to upstands, pressing it firmly into the junction and up the wall by at least 150 mm. Reseal any flashing laps with lap sealant and re-dress any lifted lead by hand. For a full approach to damaged flashing, see our emergency roof repair guide for interim measures while materials arrive.
Apply Solar Reflective Coating and Inspect the Finish
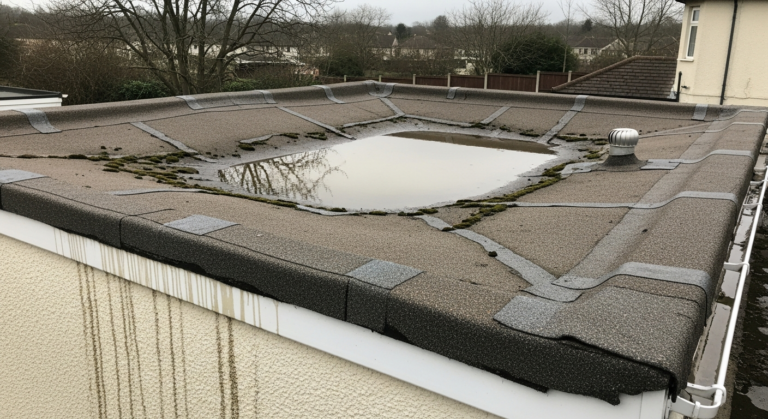
Once all patches and sealants have fully cured — allow a minimum of 24 hours in dry conditions — apply a solar reflective coating across the entire roof surface using a roller. This coating extends the life of the membrane by reducing UV degradation and thermal movement, both of which accelerate cracking on older felt roofs. Check that drainage outlets are clear and that water runs freely to the outlet rather than pooling anywhere on the finished surface — standing water more than 50 mm deep indicates a falls problem that will need addressing separately.
Frequently Asked Questions
Can I fix a leaking flat roof myself or do I need a roofer?
Most small to medium flat roof repairs — split felt, open laps, failed flashing — are within the scope of a competent DIYer with the right materials and safe access. If the decking is rotten across a large area, the falls are wrong, or the roof needs a full re-cover, call a qualified roofer. HSE guidance on working at height applies whenever you are on or near a roof edge.
What is the best material to use for a flat roof repair?
How do I find where a flat roof is leaking?
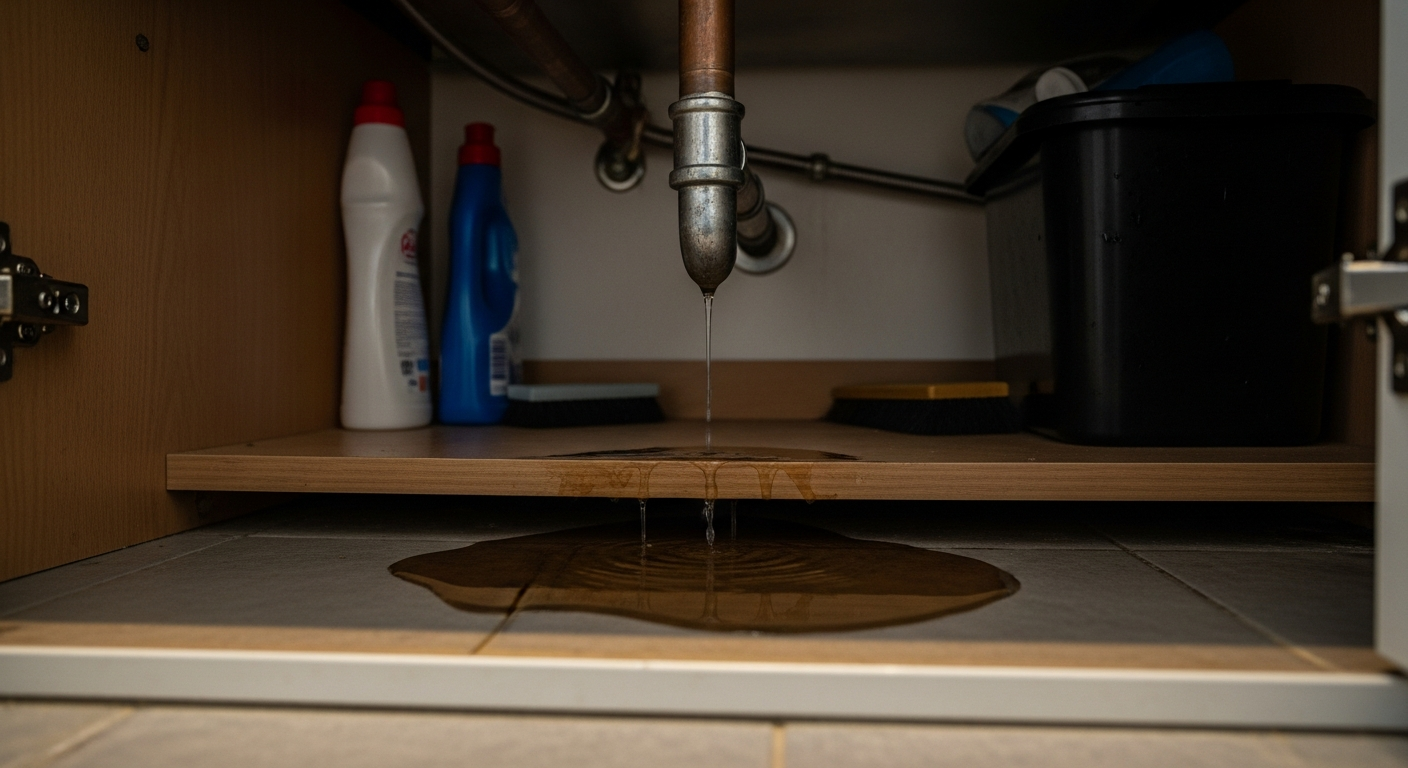
Start at the highest point of the roof and work down, concentrating on upstands, outlet pipes, rooflights, and any laps in the membrane — these are the most common failure points. Inside the building, trace the damp patch uphill from where it appears on the ceiling, as water travels along joists before it drips. For a detailed tracing method, see our guide on finding a roof leak from inside.
How long will a flat roof patch repair last?
A well-executed patch on a structurally sound substrate should last 5 to 10 years depending on the material used and how much of the existing membrane remains serviceable. Applying a solar reflective coating over the whole roof after patching significantly extends the lifespan by reducing UV and thermal stress on the membrane.
Is it safe to walk on a flat roof to inspect or repair it?
Most flat roofs can be walked on carefully, but check the deck is sound before putting weight on it — press firmly in several spots and listen or feel for flex or softness, which indicates rotten decking beneath. Always use a roof ladder or crawl board to spread your weight, never work alone, and follow HSE working at height regulations. Avoid working in wet, icy, or high-wind conditions. You can read the full roofing safety guide before starting any roof work.
Before priming or patching, warm the existing membrane gently with a hot air gun even in dry weather — cold felt and EPDM contract and the surface oils harden, meaning adhesives and primers never achieve a full bond. Two minutes of gentle warmth brings the surface back to working temperature and doubles the adhesion strength of any subsequent repair.
Sources
- HSE — Work at Height Regulations 2005: guidance for tradespeople and DIYers — hse.gov.uk
- Which? — Flat roof repair: costs, materials and when to call a pro — which.co.uk
- gov.uk — Building regulations for flat roof repairs and re-covering — gov.uk
This guide is for general information only. Always work safely and follow manufacturer instructions. DIYnut accepts no liability for injury or damage arising from DIY work.