How to Replace a Gutter Section – DIY Guide
To replace a gutter section, remove the damaged length by unclipping it from the brackets, cut the new section to size, fit union connectors at each end, clip the new length into the brackets, and check the fall with water.


- Ladder with stand-off
- Hacksaw or fine-tooth handsaw
- Tape measure
- Spirit level
- Cordless drill
- Screwdriver
- Pencil
- Bucket and sponge
- Replacement gutter section (matching profile)
- Union connectors (stop ends if required)
- Gutter brackets
- Gutter seal or union gaskets
- Stainless steel or galvanised screws
- UPVC solvent cleaner or white spirit
- Exterior-grade silicone sealant
Step-by-Step Guide
Assess the Damage and Match the Profile
Before buying anything, identify the gutter profile — half-round, ogee, and square-line are the most common in UK homes. Take a short sample of the existing gutter or photograph the cross-section and bring it to the merchant, because mixing profiles or slightly different sizes creates leaks at every joint. While you are up there, check the surrounding gutter lengths for leaks too — it is worth dealing with everything in one visit to the roof.
Set Up the Ladder Safely and Clear the Gutter
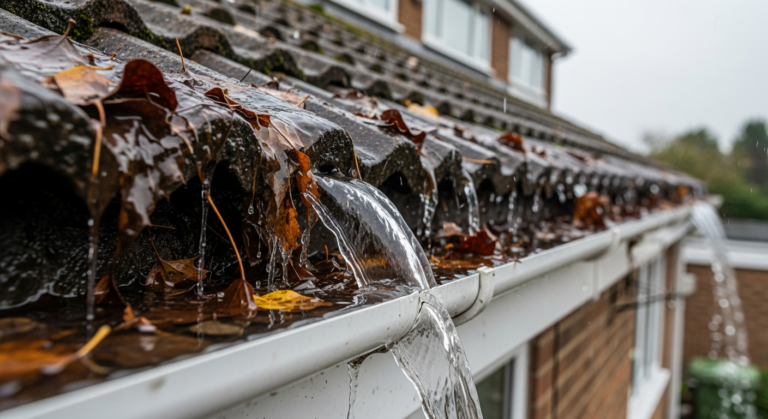
Position the ladder on firm, level ground using a stand-off to keep it away from the gutter face — leaning directly against UPVC guttering will crack it. Wear non-slip footwear and never overreach. Before removing anything, use a bucket and sponge to clear standing water and debris from the affected section. Blocked gutters are often the root cause of damage, so remove any compacted leaf matter fully at this stage.
Remove the Damaged Section
Unclip the damaged gutter length from its brackets — most UPVC systems simply press outward at the union connectors to release. If the connectors are solvent-welded rather than push-fit, cut the gutter 25 mm inside each joint using a hacksaw so the connectors themselves are not damaged. Support the section as you release it to avoid stressing adjacent lengths. Inspect each bracket: any that are cracked, heavily rusted, or have pulled away from the fascia must be replaced now rather than re-used.
Check and Correct the Fall
Gutters must run downhill towards the downpipe outlet — the standard fall is 1:600, roughly 6 mm drop for every 3 metres of run. Hold a string line along the bracket screws and check with a spirit level; a sagging or flat section will pool water and overflow. Reposition any brackets that are out of alignment before fitting the new section. If the fascia board itself is rotten, address that first — screwing brackets into soft timber will not hold. For persistent pitch problems, see our guide on fixing a sagging gutter.
Cut and Fit the New Section
Measure the gap between the existing union connectors and cut the new gutter section to length using a hacksaw — score a line around the full circumference first to keep the cut square. Deburr the cut ends with a file or fine sandpaper. Wipe both the cut ends and the inside of the connectors with UPVC solvent cleaner, allow to dry for two minutes, then push the new section firmly into each connector until you hear or feel it click past the rubber gasket. Clip the length into each bracket, pressing down until it locks.
Test with Water and Inspect All Joints
Pour a full bucket of water slowly into the highest point of the repaired run and watch every joint for drips. Any seeping joint needs the section unclipped, the gasket reseated, and the connector clicked home again — do not rely on silicone sealant to mask a poorly seated joint. A correctly fitted push-fit system should be watertight without sealant. Once satisfied, check from ground level that the line of the gutter looks consistent and that water is reaching the downpipe outlet without overflowing. For related water-ingress issues, the roof leak repair guide covers what to do if water is getting in above the gutter line.
Frequently Asked Questions
Can I replace just one section of UPVC guttering, or do I need to replace the whole run?
You can replace a single section as long as the rest of the run is sound and the same profile is still available. Push-fit UPVC systems are designed for section-by-section repair using standard union connectors.
How do I know which gutter profile I have?
The most common UK profiles are half-round (curved underside), ogee (S-shaped), and square-line (flat bottom with vertical sides). Measure the internal width and depth, note the shape, and take a photograph or short offcut to the merchant — do not guess.
My fascia board looks soft behind the old gutter — do I need to fix that first?
Do I need any special adhesive or sealant for a push-fit UPVC gutter?
No — a correctly assembled push-fit system relies on rubber gaskets inside the connectors and does not need sealant. Applying silicone over a poorly seated joint masks the problem without fixing it, and makes future repairs messier.
How often should gutters be inspected and cleaned?
The general guidance on clearing blocked gutters recommends inspecting twice a year — once in late autumn after leaf fall and once in spring. Properties near trees may need clearing more frequently to prevent the weight of debris causing the kind of damage that requires section replacement.
When fitting a new section in cold weather (below 5 °C), allow an extra 5–6 mm expansion gap at each union connector — UPVC contracts significantly in low temperatures and a tight fit in winter will bow outward and leak when summer heat expands the run. Most connector bodies have a stop mark inside to indicate the minimum insertion depth, which keeps the gap consistent.
Sources
- HSE — Working at Height Regulations 2005: Guidance for Homeowners and Tradespeople — hse.gov.uk
- Which? — How to fix gutters: a step-by-step guide — which.co.uk
- GOV.UK — Building Regulations: Drainage and Waste Disposal (Approved Document H) — gov.uk
This guide is for general information only. Always work safely and follow manufacturer instructions. DIYnut accepts no liability for injury or damage arising from DIY work.