How to Fix a Roof Leak Around a Chimney – DIY Guide
How to Fix a Roof Leak Around a Chimney
Stop chimney leaks for good by repairing flashing and sealing with the right materials.
To fix a roof leak around a chimney, inspect and replace failed lead or aluminium flashing, repoint any cracked mortar joints, and seal all edges with appropriate roofing sealant. Most chimney leaks are caused by deteriorated flashing rather than damaged tiles.


Remove Deteriorated Flashing and Clear the Chase
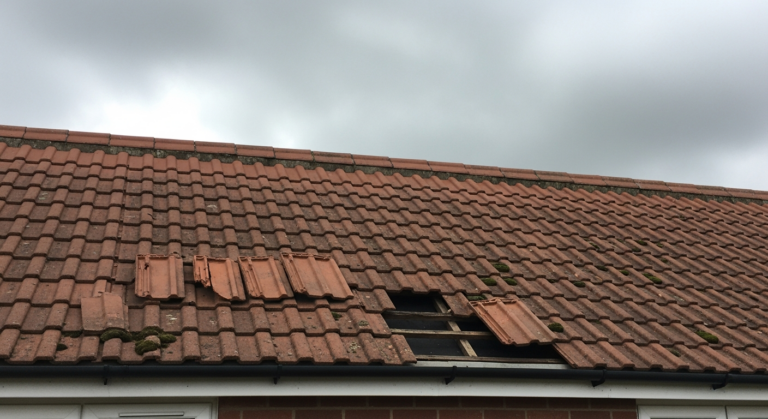
Using a cold chisel and club hammer, carefully rake out the mortar that holds the flashing into the brick chase — the horizontal groove cut into the masonry. Remove any old lead or failed aluminium flashing completely. Clear all loose mortar, debris, and dust from the chase with a stiff brush. The chase should be at least 25 mm deep to give the new flashing a proper key. If the chase is shallow or the mortar is crumbling deep into the joint, rake it back further before proceeding. A clean, dry chase is essential — wet or dusty surfaces will prevent the new flashing from bonding correctly.
Cut and Fit the New Step and Back Flashing
Step flashing is fitted along the sides of the chimney, weaving between each course of tiles, while back flashing (also called a back gutter) covers the uphill face where the chimney meets the roof slope. Cut lead flashing to length using tin snips, allowing enough material to extend at least 100 mm up the chimney face and 150 mm across the roof surface. Use a lead dresser or a smooth wooden block to work the lead into the shape of the tile profile without piercing the material. If using self-adhesive flashing tape as an alternative, apply a grit primer to the masonry first and allow it to tack off before pressing the tape firmly into place. Secure lead flashing with clips or clout nails at 500 mm intervals.
Repoint the Chase to Lock the Flashing In
Mix a firm mortar using one part cement to four parts sharp sand — it should hold its shape without slumping. Press the top edge of the flashing into the chase, then pack mortar firmly behind it using a pointing trowel, making sure there are no voids. Finish the mortar joint with a neat bucket handle or weatherstruck profile to shed water away from the joint. Allow mortar to cure for at least 24 hours before exposing it to rain if possible. Do not rely on sealant alone to hold the flashing in place — mortar provides the mechanical anchor, sealant provides the final weatherproof seal. If the wider chimney brickwork needs attention, our guide to repointing a chimney covers the full process.
Seal All Edges and Joints with Roofing Sealant
Once the mortar has set, run a bead of roofing-grade sealant along the top edge of the flashing where it meets the masonry, and along any overlapping joints between flashing sections. Use a caulking gun for a controlled, even bead — aim for a 6–8 mm bead width. Tool the sealant smooth with a wet finger or spatula and remove excess with a clean cloth. Pay particular attention to the corners of the chimney, which are the most common failure points. For wider cracks in the chimney stack itself, refer to our chimney flaunching repair guide before applying any surface sealant.
Test the Repair and Check the Surrounding Roof Area
Once all materials have cured, use a garden hose to run water over the chimney and check inside the loft for any signs of moisture coming through. Check the tiles immediately surrounding the chimney for any that may have cracked or lifted during the repair — replace any damaged tiles before leaving the roof. Inspect the gutters below the chimney for debris dislodged during the repair, as blockages here can cause water to back up and mimic a leak. For peace of mind, check our fix leaking gutters guide and replace a broken roof tile guide if anything needs attention nearby.
Frequently Asked Questions
How do I know if the chimney flashing or the chimney itself is causing the leak?
If water appears only during or just after rain, flashing failure is the most likely cause. If you see damp staining even in dry weather, the chimney stack masonry or flaunching may be absorbing and releasing moisture — this needs repointing or rendering, not just new flashing.
Can I use self-adhesive flashing tape instead of lead?
Self-adhesive flashing tape is a practical and cost-effective alternative for repairs on pitches up to around 45 degrees, provided the surface is properly primed and dry before application. For full chimney wraps on complex profiles, traditional lead remains the most durable long-term option.
Is it safe to work on a roof myself?
Working at height carries serious risk. The HSE recommends using a properly footed ladder or scaffolding, never working alone, and avoiding roof work in wet or windy conditions. If the pitch is steep or the chimney is difficult to access safely, hire a roofing contractor.
How long should chimney flashing last?
Lead flashing correctly installed and pointed into a mortar chase should last 50 years or more. Self-adhesive flashing tape typically lasts 10–20 years depending on exposure. Sealant-only repairs without mechanical fixing rarely last more than a few years.
What is flaunching and does it need repairing at the same time?
Flaunching is the mortar cap that beds the chimney pots and sheds water from the top of the stack. If it is cracked or missing sections, water will get in from the top regardless of how well the flashing is repaired — both should be checked and fixed at the same visit.
When replacing step flashing, offset each piece by at least 25 mm from the tile joint below it — aligning flashing seams directly with tile joints creates a direct path for wind-driven rain. A staggered lap pattern eliminates that weakness entirely without any extra material cost.
Sources
- HSE — Working at height: a brief guide — hse.gov.uk
- Which? — Roof repairs and maintenance advice — which.co.uk
- Lead Sheet Association — How to work with lead flashing — leadsheetassociation.org.uk
This guide is for general information only. Always work safely and follow manufacturer instructions. DIYnut accepts no liability for injury or damage arising from DIY work.