How to Install Smart Lights – DIY Guide
How to Install Smart Lights
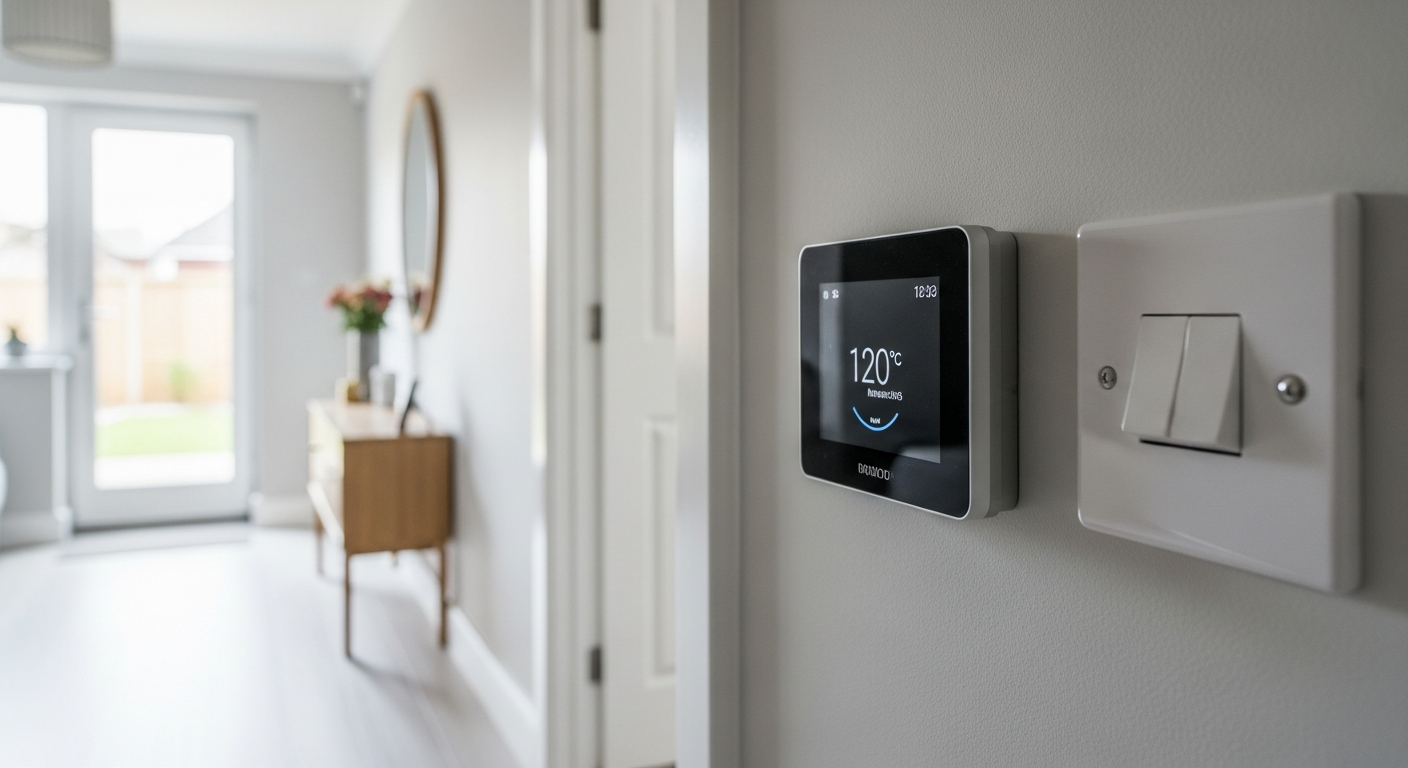
Control your home lighting from your phone and cut energy bills overnight.
Install smart lights by switching existing bulbs for smart LED bulbs, connecting them to your home WiFi via a hub or app, then controlling them with your smartphone or voice assistant. No rewiring needed for most installations. Budget around £15–£60 depending on the number of bulbs.


- Stepladder or step stool
- Screwdriver (flathead and cross-head)
- Non-contact voltage tester
- Smartphone or tablet
- Soft cloth
- Pencil and notepad
- Smart LED bulbs (bayonet or Edison screw, as required)
- Smart light switch (optional)
- Wireless smart hub or bridge (if required by your chosen system)
- WiFi router with 2.4 GHz band
- Smart lighting app (downloaded to your device)
- Cable ties (for hub cable management)
Step-by-Step Guide
Check Your Existing Fittings and Bulb Types
Before buying anything, walk around each room and note the bulb fitting type — bayonet cap (BC/B22) and Edison screw (ES/E27) are the two most common in UK homes. Also check whether any fittings are on a dimmer circuit, as not all smart bulbs are dimmer-compatible; using an incompatible bulb on a dimmer switch can cause flickering or early failure. Take photos with your phone so you buy the right replacements. If you want to explore the wider possibilities for your home, our Smart Home Guide covers how lighting fits into a broader connected setup.
Turn Off the Power and Remove Old Bulbs
Switch off the light at the wall switch — do not rely on the switch alone for safety. For ceiling fittings, switch off at the consumer unit (fuse board) for that circuit, then use a non-contact voltage tester to confirm the power is dead before touching any fitting. Allow incandescent or halogen bulbs to cool for at least 10 minutes. Twist or pull the old bulb free according to its fitting type, using a soft cloth to protect your hands and the fitting. Wipe the inside of the fitting with a dry cloth to remove dust before inserting the new bulb.
Fit the Smart LED Bulbs
Screw or push the smart LED bulb into the fitting — do not overtighten screw-cap bulbs as this can damage the base. Smart bulbs must remain powered at the wall switch at all times to receive app commands; if the switch is cut off, the bulb loses its connection. Restore power at the consumer unit once all bulbs are fitted. Turn the wall switch on and confirm the bulbs illuminate — most smart bulbs will flash or pulse briefly on first power-up to indicate they are ready to pair. If you are also installing a smart thermostat , tackle that after your lighting is set up so your app accounts are already established.
Set Up the Hub or Bridge (If Required)
Some smart lighting systems require a hub or bridge device that connects to your router via an ethernet cable; others connect directly to your home WiFi. If a hub is needed, place it within 10 metres of your router and connect it with the supplied ethernet cable. Plug it in and allow it to boot fully — this typically takes 1–2 minutes. Confirm your router broadcasts a 2.4 GHz WiFi network, as most smart bulbs do not support 5 GHz. If your router only shows a single network name, check the router settings to confirm 2.4 GHz is active. Weak WiFi signal in the room you are setting up in can cause pairing failures — see our guide on installing a video doorbell for tips on extending WiFi reach to problem areas.
Pair the Bulbs Using the App
Download the manufacturer’s app to your smartphone and create an account. Follow the in-app pairing process — most systems use an automatic scan to detect new bulbs on the network, or ask you to press a button on the hub to enter pairing mode. Name each bulb by room as you pair it (e.g. ‘Living Room Main’, ‘Hallway Ceiling’) — clear naming makes voice control and routines far easier to manage later. If a bulb fails to pair, switch it off at the wall for 10 seconds, switch it back on, and retry; bulbs that have been used with a different system may need a factory reset, which is usually done by switching the wall switch on and off five times rapidly.
Create Scenes, Schedules, and Voice Control
Once all bulbs are paired, group them into rooms within the app and create your first scene — a preset combination of brightness and colour temperature suited to an activity, such as a warm dim setting for evenings or a bright cool-white setting for working. Set a schedule to automate your lights to turn on at dusk and off at bedtime, which also improves home security. If you use a voice assistant, link the smart lighting app through that assistant’s app using the ‘Works With’ or ‘Skills’ section — follow the on-screen steps to authorise the connection. Test every bulb individually from the app to confirm reliable control before finishing. For more ideas on connected devices that work alongside smart lighting, browse our outdoor security light guide for complementary security lighting options.
Frequently Asked Questions
Do I need an electrician to install smart lights?
For smart bulb replacements — simply swapping old bulbs for smart LED bulbs — no electrician is required. However, if you are replacing a standard wall switch with a hardwired smart switch (one that connects to the mains wiring), this is a fixed electrical installation and must be carried out or certified by a competent person under Part P of the Building Regulations in England and Wales. Use an NICEIC-registered electrician for any wiring work.
Will smart lights work if my internet goes down?
It depends on the system. Most smart bulbs lose remote and voice control when the internet drops, but some hub-based systems retain local network control — meaning your app can still operate bulbs from within the home even without an internet connection. Manual wall switches always work regardless of connectivity.
Can I use smart bulbs in any light fitting?
Smart LED bulbs fit standard bayonet cap (B22) and Edison screw (E14/E27) fittings found in most UK homes. They are not suitable for GU10 spotlight fittings unless you specifically buy GU10 smart bulbs — these are available but less common. Check your fitting type before purchasing. Enclosed fittings can trap heat and shorten smart bulb life, so check the bulb is rated for enclosed use if that applies.
How much can smart lights save on electricity bills?
Smart LED bulbs use significantly less energy than incandescent or halogen equivalents — typically 8–10 watts versus 60 watts for a comparable output. The additional saving from smart features (scheduling, auto-off) depends entirely on your habits, but the Energy Saving Trust notes that LED bulbs alone can reduce lighting energy use by up to 90%. For authoritative guidance on energy savings, see the Energy Saving Trust’s LED bulb advice.
Do smart bulbs work with all voice assistants?
Most major smart bulb systems are compatible with at least two of the three main UK voice assistants. Check the product packaging or manufacturer’s website for ‘Works With’ logos before purchasing. Compatibility is not universal, so if you already own a specific voice assistant ecosystem, verify compatibility first to avoid returns.
Set up a ‘warm white at 10%’ late-evening scene that triggers automatically 30 minutes before your scheduled bedtime — this is sometimes called a circadian or wind-down routine. Low-level warm white (around 2700K) at low brightness suppresses blue-light output and significantly reduces sleep disruption, which is the feature most users never configure but appreciate most once it is running.
Sources
- Energy Saving Trust — LED light bulbs advice — energysavingtrust.org.uk
- HSE — Electrical safety at work and in the home: Part P explained — hse.gov.uk
- NICEIC — Find a registered electrician — niceic.com
Safety Notice: Electrical and plumbing work can be dangerous if done incorrectly. In the UK, certain electrical work must comply with Part P of the Building Regulations and certain plumbing work with Part G. If in doubt, consult a qualified electrician (NICEIC/NAPIT registered) or plumber (CIPHE/WaterSafe registered). This guide is for general information only — it is not a substitute for professional advice.


