How to Fit Architrave – DIY Guide
How to Fit Architrave
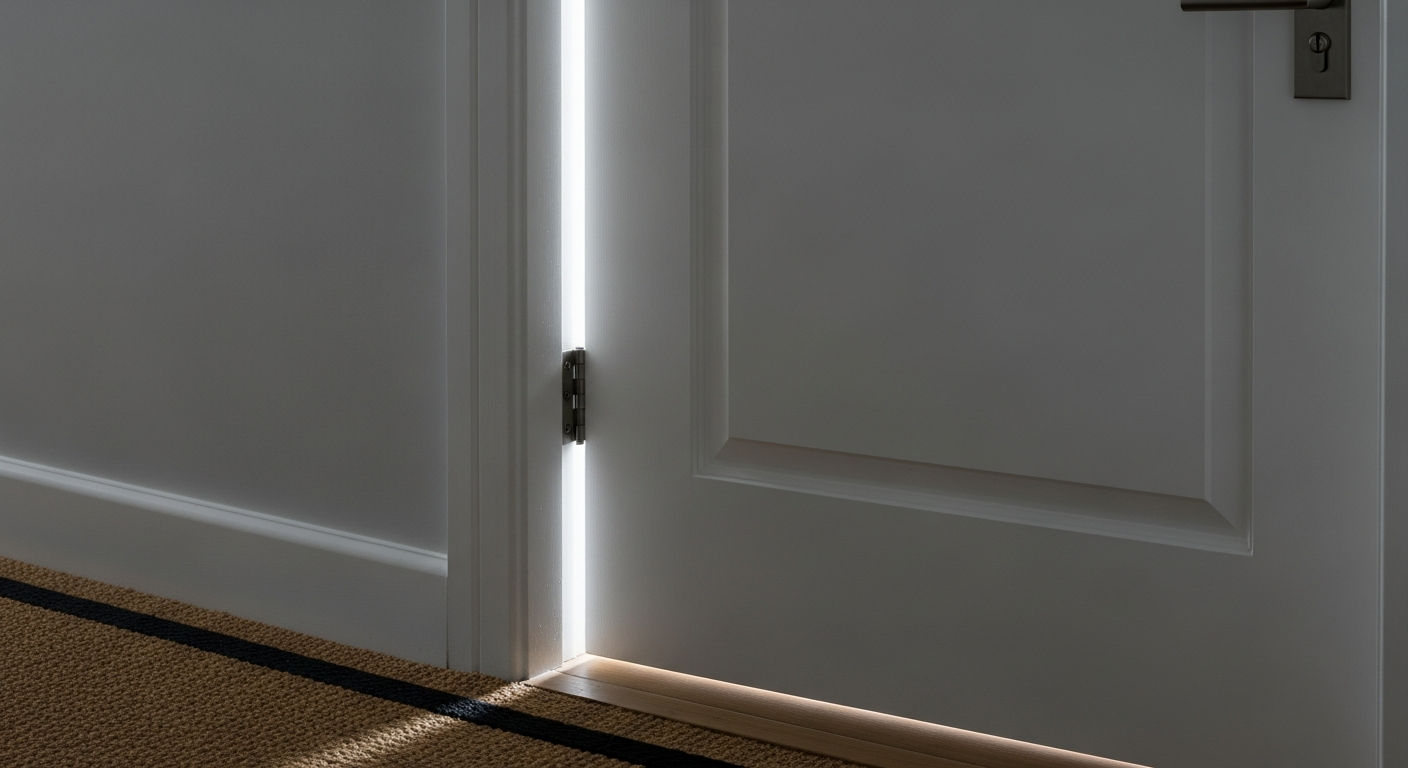
Cut, mitre, and fix door architrave cleanly for a professional finish every time.
To fit architrave, mark a reveal line 6–8 mm from the door lining edge, cut mitred corners at 45°, nail the head piece first, then fit the two legs. Fill nail holes, sand smooth, and finish with primer and paint.


- Mitre saw or mitre box and tenon saw
- Tape measure
- Pencil
- Spirit level
- Nail punch
- Hammer or brad nailer
- Combination square
- Coping saw
- Architrave moulding
- Oval wire nails or lost-head nails
- Wood adhesive
- Decorator’s caulk or flexible filler
- Wood filler
- Sandpaper (120 and 240 grit)
- Wood primer
- Masking tape
Step-by-Step Guide
Mark the Reveal Lines
Using a combination square set to 6–8 mm, run a pencil line around the inside edge of the door lining on all three sides — the two uprights (legs) and the top (head). This reveal line is your guide for positioning every piece of architrave; keeping it consistent is what makes the finished frame look straight and even from across the room.
Measure and Cut the Head Piece
Measure the distance between the reveal lines at the top corners, then add the depth of two mitre cuts at 45° to get your cut length. Set your mitre saw to 45° and cut the head piece so the longer face sits against the wall. Always cut slightly long first and test the fit — you can trim a sliver off, but you cannot add timber back. If you plan to cope internal corners on skirting boards elsewhere in the room, use the same mitre saw setting for consistency.
Cut and Dry-Fit the Leg Pieces
Cut a 45° mitre on the top end of each leg so it pairs with the head piece mitre. The bottom of each leg sits on the floor or just above it — cut square across at the base. Hold each leg against the reveal line and check the mitre joint closes tightly at the top corner. Small gaps at the mitre can be adjusted by very slightly tweaking the saw angle by half a degree at a time.
Fix the Head Piece First
Apply a thin bead of wood adhesive along the back of the head piece, align it to your reveal line, and fix it with 40–50 mm oval nails — one into the lining and one angled into the wall stud or plasterboard at roughly 200 mm centres. Drive nails to within 2 mm of the surface, then use a nail punch to set them below the surface. Gluing as well as nailing prevents the mitre opening over time as the timber moves seasonally. If you need to fill gaps in timber mouldings later, the same technique applies here.
Fix the Leg Pieces
Offer up each leg, pressing the mitre joint tight against the head piece. Apply wood adhesive to the back and to the mitre face before fixing — this is what holds the corner together long-term. Nail into the lining and wall at 200–250 mm centres, then punch all nail heads below the surface. Check with a spirit level that each leg is plumb; if the door lining is slightly out of square, you may need to scribe or plane the back of the leg slightly so the face sits flat against the wall. For a related task in the same doorway area, see our guide on how to lay laminate around doors .
Fill, Sand, Prime, and Finish
Fill all punched nail holes with wood filler, allow to dry, then sand flush with 120 grit followed by 240 grit. Run a thin bead of decorator’s caulk along the back edge of the architrave where it meets the wall, and smooth with a damp finger — this seals any gap and prevents paint bridging. Once caulk is dry, apply a coat of wood primer to any bare timber, then finish with your chosen paint. For the best result on painted woodwork, use satinwood or gloss — our guide to gloss vs satinwood paint explains which to choose.
Frequently Asked Questions
What size architrave should I use for a standard interior door?
For most standard UK interior doors, an architrave 55–70 mm wide and 15–18 mm thick suits the proportions of the frame well. Wider mouldings suit older properties with deeper linings; slimmer profiles suit contemporary interiors.
Can I fit architrave without a mitre saw?
Yes — a mitre box and tenon saw will cut accurate 45° angles if you work carefully and clamp the timber firmly. A mitre saw is faster and more repeatable, but it is not essential for a one-door job.
How do I fix architrave to plasterboard with no stud behind it?
Drive nails into the door lining itself, which is solid timber, and use wood adhesive on the back of the moulding to bond it to the plasterboard face. Avoid relying on the plasterboard alone to hold fixings under load. For a related timber-to-wall fixing challenge, our guide on how to remove skirting boards without damage covers wall fixings in detail.
Should I paint architrave before or after fitting?
Paint one coat of primer before fitting if using bare timber — it seals the wood and makes the finishing coats easier. Apply full finish coats after fitting and caulking, so the caulk line is included in the painted finish and looks seamless.
What is the difference between architrave and skirting board profiles?
The profiles are often identical — many moulding ranges offer matching architrave and skirting in the same style, which is the standard approach for a coordinated look throughout a room. Architrave is simply fitted around door and window openings rather than at floor level.
When gluing mitre joints, rub the two faces together dry first to transfer a small amount of timber dust into the glue — this filled-grain joint closes tighter and is far less likely to show a line when painted. Pin through the corner from both directions with a brad nailer while the adhesive grabs, rather than waiting for it to dry before fixing.
Sources
- HSE — Safe use of hand tools and woodworking machinery — hse.gov.uk
- Which? — How to fit architrave around a door — which.co.uk
- Wickes — Architrave fitting guide — wickes.co.uk
This guide is for general information only. Always work safely and follow manufacturer instructions. DIYnut accepts no liability for injury or damage arising from DIY work.


