Wall Cracking
Walls & Plastering › Walls & Plastering
Wall Cracking
Identify why your walls are cracking and fix the right problem first time.
Wall cracking is most commonly caused by natural settlement or shrinkage in new plaster. Hairline cracks are usually cosmetic and DIY-fixable. Wider cracks, diagonal runs from window corners, or cracks that reopen after filling can signal structural movement and need professional assessment.

What’s Causing This?
Thermal movement and plaster shrinkage — The most common cause of wall cracks in UK homes. Plaster expands and contracts with seasonal temperature changes, producing fine hairline cracks along joints or in the middle of a plaster face. New plaster is especially prone to this as it cures. See our guide on why walls crack for a full breakdown.
Settlement movement — All buildings settle over time as the ground beneath them compresses. Minor settlement produces diagonal cracks at corners of door frames and window openings. In older properties this may have stabilised long ago; in newer builds it can continue for several years.
Subsidence or structural movement — More serious than normal settlement. Signs include cracks wider than 5 mm, cracks that taper and widen, doors and windows sticking, or cracks that reopen quickly after filling. Subsidence requires specialist investigation — it is not a DIY fix. The gov.uk guidance on ground movement explains your responsibilities as a homeowner.
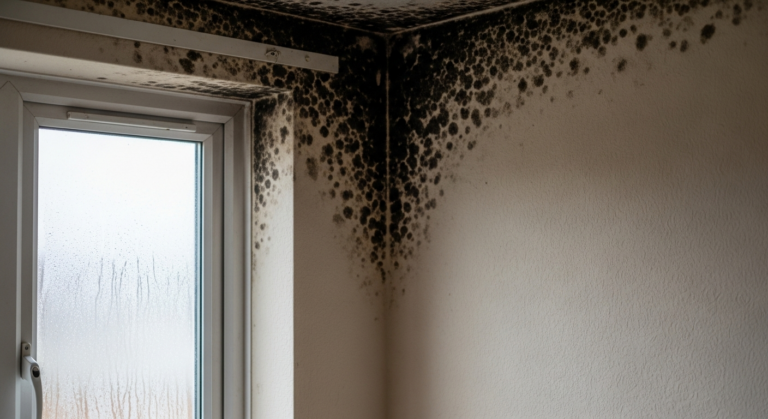
Damp penetration or rising damp — Moisture entering through the wall causes the plaster to blow, crack, and flake. Cracks from damp are often accompanied by tide marks, staining, or a musty smell. Resolving the damp source must happen before any repair. Our Insulation & Damp Guide covers diagnosis and treatment.
Blown or delaminating plaster — Old lime or sand-and-cement plaster loses its key to the masonry behind it, causing the surface to crack in a map or crazing pattern. Tapping the wall produces a hollow sound. The affected plaster will need to be hacked off and the area replastered rather than simply filled.
How to Diagnose the Exact Cause
- Measure the crack width. Use a feeler gauge or credit card. Cracks under 1 mm are hairline; 1–5 mm are moderate; over 5 mm are serious. The Building Research Establishment (BRE) classifies crack severity in Digest 251 — wider cracks warrant professional attention.
- Note the crack pattern and location. Hairline cracks across the middle of a plasterboard wall indicate drying shrinkage. Diagonal cracks from the corners of openings suggest movement. A network of fine map cracks across the plaster face points to blown plaster or carbonation of old lime work.
- Tap the surrounding wall. A hollow or drumming sound confirms the plaster has lost adhesion to the substrate. Solid sound means the plaster is still bonded and the crack may be surface-only.
- Check for damp. Run a damp meter across the wall either side of the crack. A reading consistently above 20% moisture content in plaster (on a relative scale) warrants further investigation. Look for staining, efflorescence (white salt deposits), or peeling paint.
- Monitor the crack over time. Mark the ends of the crack in pencil with today’s date. Check it monthly for six to eight weeks. If it does not grow, it is likely historic and stable. If it widens or extends, the movement is ongoing and you should consult a structural engineer or RICS surveyor before attempting any repair.
- Check external walls for corresponding damage. Go outside and inspect the same area of wall. Cracked or spalling render, missing pointing, or gaps at lintels suggest a structural or weathering issue rather than a cosmetic one.
How to Fix It
Hairline cracks (under 1 mm): Rake out any loose material, brush clean, and apply a flexible decorators’ filler or fine surface filler. Sand flush when dry. Our step-by-step guide on how to fix hairline cracks in walls covers the full process including priming before painting.
Moderate cracks (1–5 mm): Open the crack slightly with a scraper or plugging chisel to create a key, undercut the edges, dampen the area, and press in a sand-and-PVA filler or ready-mixed filler in layers no deeper than 10 mm at a time. Allow each layer to dry fully. See how to fill large cracks in plaster for full guidance.
Blown plaster: Tap across the affected area to find the full extent of the failure. Hack off all loose plaster back to sound material, apply a bonding agent, and replaster in two coats. Learn to repair blown plaster correctly before starting.
Plasterboard joints cracking: Apply jointing compound and fibreglass scrim tape over the joint, feather out, sand when dry, and skim over if needed. For new boards, see how to cut and fit plasterboard correctly to minimise future movement.
Damp-related cracking: Fix the damp source first (roof, gutters, pointing, or damp-proof course), allow the wall to fully dry out — which can take several months — then hack off damaged plaster and replaster using a moisture-resistant backing coat.
Structural or subsidence cracks: Do not fill these without professional advice. A RICS-qualified structural engineer or surveyor must assess the cause before repairs are made. Cosmetic filling will not solve the underlying problem and may mask worsening movement.
When to Call a Tradesman
Call a professional if any of the following apply: the crack is wider than 5 mm; it is diagonal, tapered, or runs from the corner of a window or door opening and is still growing; doors or windows in the same area of the house have started sticking; you can see daylight through the crack; or the crack reappears within weeks of being filled. These are indicators of active structural movement that require assessment by a RICS-accredited structural engineer or chartered surveyor before any repair work is carried out. Attempting cosmetic repairs on an active structural crack does not make the building safe and may invalidate your buildings insurance if a claim is later made. For damp-related cracking that extends throughout multiple walls or into the floor, a qualified damp-proofing specialist (look for PCA-registered contractors) should inspect before you replaster. The Health and Safety Executive (HSE) makes clear that notifiable structural work on domestic properties must meet Building Regulations requirements — your local authority building control can advise if a repair crosses this threshold.
How to Prevent It Happening Again
- Control moisture levels inside and out. Keep gutters, downpipes, and external pointing in good repair so water cannot penetrate the wall structure. Internally, maintain consistent heating and adequate ventilation to reduce humidity fluctuations that cause plaster to move.
- Allow new plaster to cure fully before decorating. New plaster typically needs four to six weeks to cure completely depending on the thickness and ventilation. Decorating too soon traps moisture, which causes shrinkage cracks when it eventually escapes. Apply a mist coat of diluted emulsion first rather than full-strength paint.
- Use flexible filler and scrim tape on plasterboard joints. Rigid fillers crack when boards move. Jointing tape bedded in compound gives the joint flexibility and significantly reduces the chance of the crack returning.
- Monitor and maintain external render. Cracked or hollow render allows water ingress that causes internal wall cracking. Inspect external walls annually and address any failures promptly — see our guide on how to render an outside wall.
Frequently Asked Questions
Are hairline cracks in walls normal?
Yes, hairline cracks under 1 mm wide are very common and usually caused by thermal movement or plaster shrinkage. They are cosmetic in most cases and can be filled and repainted without any structural concern.
How wide does a crack have to be before it’s a structural problem?
The BRE classifies cracks over 5 mm as potentially serious. However, width alone is not the only indicator — cracks that are growing, diagonal, tapered, or accompanied by sticking doors and windows should be assessed by a structural engineer regardless of width.
Why do my walls crack every winter?
Seasonal cracking is caused by thermal movement — walls expand in summer heat and contract in winter cold. Plaster and render are relatively brittle and crack at the weakest points under this repeated stress. Using a flexible filler and maintaining consistent indoor temperatures can reduce the frequency.
Can I fill wall cracks myself before redecorating?
For hairline and moderate cracks on stable walls, yes. Rake out loose material, use an appropriate filler, allow it to dry fully, sand flush, apply a suitable primer, and then redecorate. Do not fill cracks that are still growing or that you suspect are structural.
Does wall cracking affect my home insurance?
It can. Most buildings insurance policies cover sudden, unexpected structural damage but not gradual deterioration. If you have evidence of ongoing subsidence, you must inform your insurer. Failing to report known structural movement may invalidate a future claim.
When monitoring a crack for movement, stick a small piece of plasterboard or glass across it with bonding agent rather than just marking the ends in pencil — if the brittle patch cracks or breaks, you have definitive proof of active movement even if the change is too small to measure by eye. This is the same method structural engineers use for a quick site assessment.
Sources
- RICS — Cracks in your home: what do they mean? — rics.org
- HSE — Structural safety in domestic construction — hse.gov.uk
- Which? — Subsidence: what you need to know — which.co.uk
This guide is for general information only. Always work safely and follow manufacturer instructions. DIYnut accepts no liability for injury or damage arising from DIY work.