How to Tile Kitchen Walls – 2026 Guide
How to Tile Kitchen Walls – 2026 Guide
Transform your kitchen with wall tiles — a durable, professional-looking finish you can fit yourself.
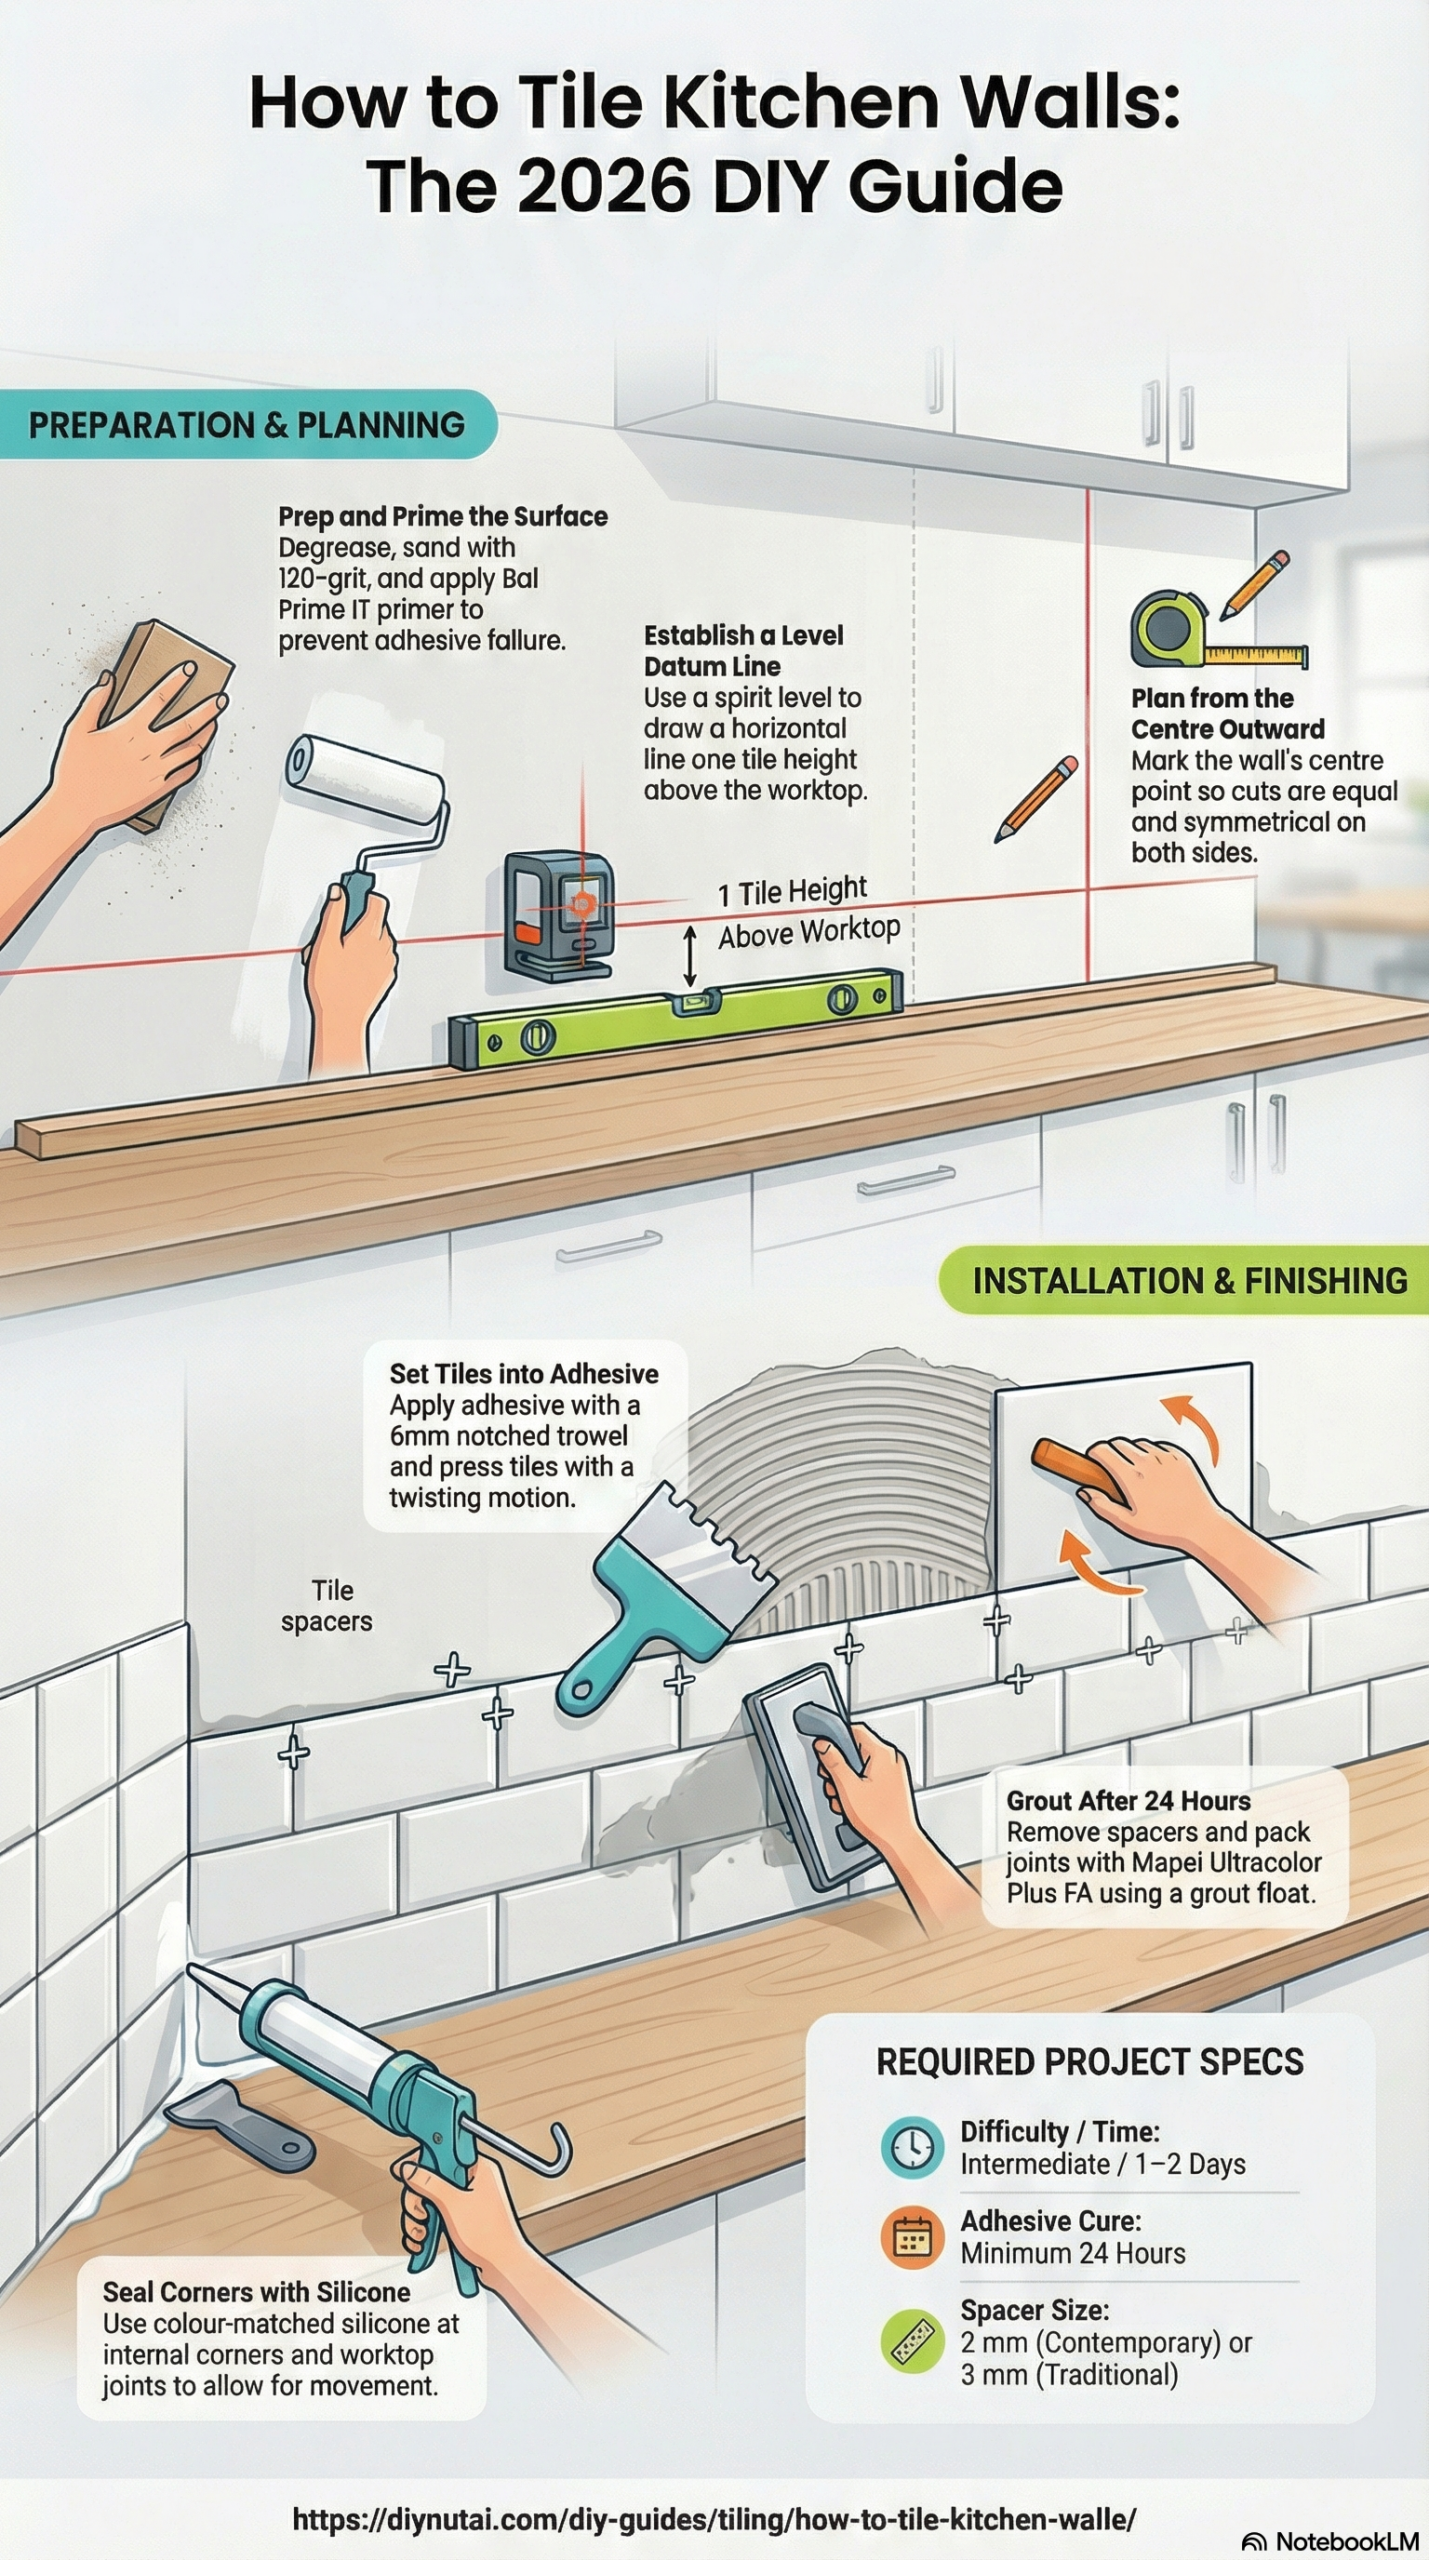
To tile kitchen walls, clean and prime the surface, mark a level datum line, apply tile adhesive with a notched trowel, press tiles firmly in place using spacers, then grout and seal once the adhesive has fully cured.

- Stanley spirit level (1.2 m)
- Notched trowel (6 mm notch) — available at Screwfix
- Rubi TX-700N tile cutter
- Purdy 3-inch brush (for priming)
- Grout float — available at Toolstation
- Tile spacers (2 mm or 3 mm) — available at B&Q
- Sponge and bucket
- Pencil and measuring tape — Stanley FatMax
- Ceramic wall tiles of choice — B&Q own-range or Johnson Tiles
- Bal White Star Plus ready-mixed tile adhesive
- Mapei Ultracolor Plus FA grout
- Bal Prime IT primer
- BAL Silicone Sealant (colour-matched) for perimeter joints
- Tile trim / edge strip (aluminium, Schluter Jolly) — Screwfix
- Fine-grain sandpaper (120-grit) — Stanley
- Polyfilla Fine Surface Filler for minor wall defects
Step-by-Step Guide
Prepare and prime the wall surface
Remove grease, old adhesive, and any loose material from the wall using a scraper and 120-grit sandpaper. Fill minor holes or imperfections with Polyfilla Fine Surface Filler and allow to dry. Apply Bal Prime IT primer with a Purdy brush across the entire tiling area and leave to dry fully — typically 30–60 minutes. A well-prepared, primed surface prevents adhesive failure, which is the most common cause of tiles lifting in a kitchen environment.
Mark a level datum line and plan your layout
Use a Stanley spirit level to draw a perfectly horizontal datum line across the wall at the height of one tile up from the worktop or floor. Count the tile widths across the wall and mark the centre point so cuts are even on both sides — never start from a corner, as walls are rarely truly square. Dry-lay the tiles on the worktop first to confirm your layout and identify where cuts will fall before committing adhesive to the wall.
Apply tile adhesive and set the first tiles
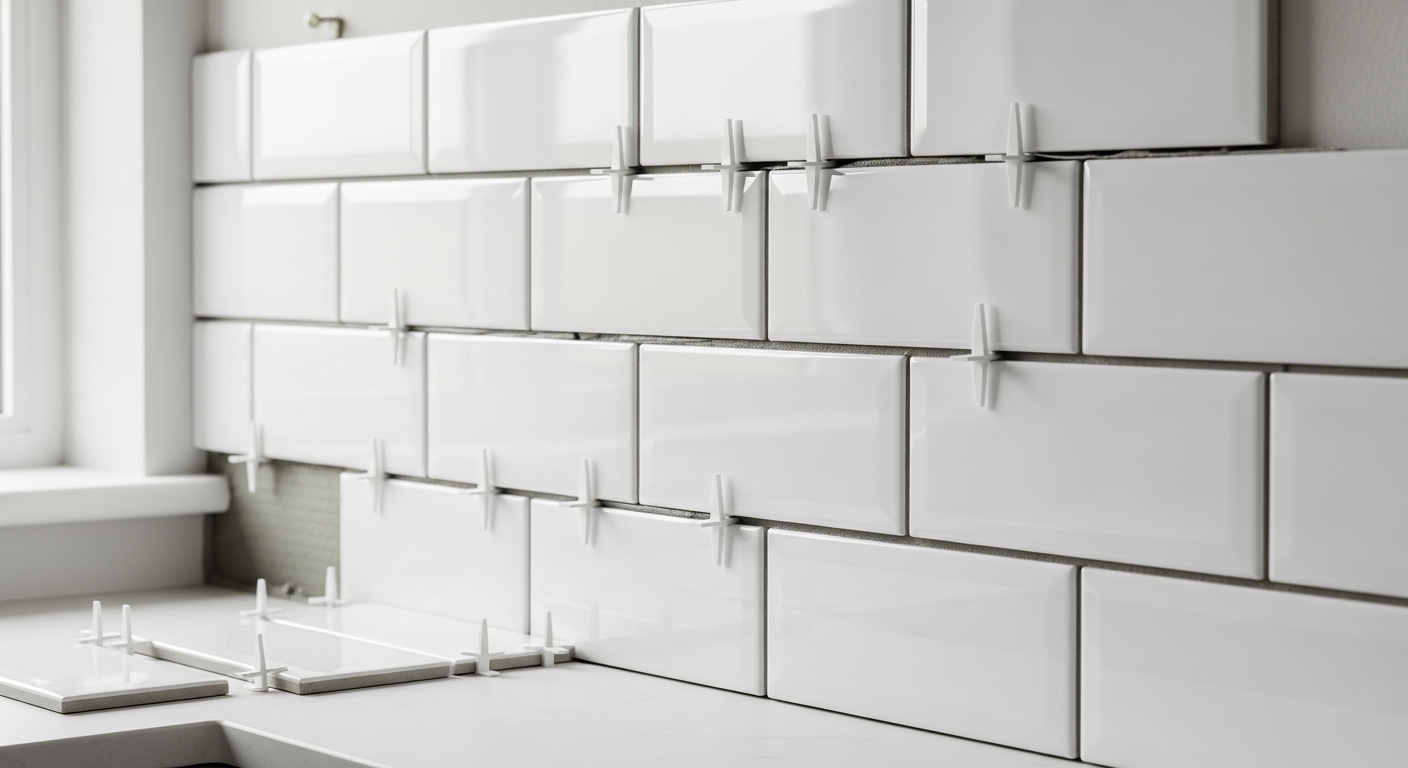
Using a notched trowel (6 mm notch), spread Bal White Star Plus adhesive onto the wall in sections of no more than 0.5 m² at a time — working to the adhesive’s open time prevents it skinning over before tiles are placed. Press each tile firmly onto the adhesive with a slight twisting motion to ensure full coverage behind the tile, and insert 2 mm or 3 mm tile spacers at every joint. Work outward from your centre point along the datum line, checking level every three or four tiles.
Cut tiles to fit edges and obstacles
Measure each cut tile individually rather than assuming gaps are equal — walls and cabinets are rarely perfectly uniform. Score and snap cuts using a Rubi TX-700N tile cutter; use a tile saw or angle grinder with a diamond blade for L-shaped cuts around sockets or pipe outlets. Always wear safety glasses when cutting tiles. Fix cut tiles in the same way as whole tiles, ensuring full adhesive coverage on smaller pieces to prevent them working loose over time.
Grout the joints once adhesive has cured
Allow the adhesive to cure for a minimum of 24 hours before grouting — check the Bal White Star Plus data sheet for the specific cure time in your conditions. Remove tile spacers, then work Mapei Ultracolor Plus FA grout into the joints using a rubber grout float, pressing firmly at a 45-degree angle to pack joints fully. Wipe away excess with a damp sponge in circular motions and buff the tile faces clean with a dry cloth before the grout hazes hard. Leave to cure for 24 hours.
Seal perimeter joints with silicone
At every junction where tiles meet a worktop, window reveal, or internal corner, remove any grout and apply a continuous bead of BAL Silicone Sealant in a colour matched to your grout. These movement joints are essential — rigid grout in a corner will crack as the building moves. Smooth the bead with a wetted finger or sealant tool and leave undisturbed for the full cure time stated on the tube before exposing to moisture.
Common Mistakes to Avoid
Tiles run out of square across the wall, leaving a wide cut on one side and a sliver on the other — an immediately noticeable, amateur-looking result that cannot be fixed without re-tiling.
Grouting too early traps moisture in the adhesive bed, preventing it from curing correctly and leading to tiles that crack, hollow-sound, or eventually de-bond from the wall.
Grout is rigid and will crack at movement joints within months as the building flexes and the worktop expands — allowing moisture behind the tiles and causing long-term water damage.
Frequently Asked Questions
Do I need to prime the wall before tiling a kitchen?▾
Yes — on plasterboard, new plaster, or any absorbent surface, a primer such as Bal Prime IT is essential. Without it, the wall draws moisture out of the adhesive too quickly, weakening the bond and causing tiles to fail prematurely.
What size spacers should I use for kitchen wall tiles?▾
A 2 mm spacer gives a clean, contemporary joint suitable for most ceramic wall tiles up to 300×600 mm. Use 3 mm spacers for larger format tiles or if a more traditional grouted look is preferred — B&Q and Toolstation both stock both sizes.
Can I tile over existing kitchen tiles?▾
You can tile over sound, firmly bonded existing tiles provided the wall can bear the additional weight and the combined tile thickness won’t create problems at sockets or door reveals. Ensure the existing tiles are clean and de-greased, and use a suitable adhesive rated for tile-on-tile application such as Bal Double Set.
How long before I can use the kitchen after tiling?▾
Allow at least 24 hours for the adhesive to cure and a further 24 hours after grouting before exposing the surface to water or steam. Check the specific cure times on your adhesive and grout data sheets, as conditions like temperature and humidity affect drying times.
How do I cut tiles around plug sockets and switches?▾
Turn off the power at the consumer unit before working near sockets. Mark the cut on the tile accurately, then use a tile saw or angle grinder with a diamond blade for L-shaped or curved cuts — a standard tile cutter will only score and snap in a straight line. Always isolate electrics before cutting; NICEIC guidance recommends a qualified electrician reposition back boxes if tiles will encroach on the socket depth.
Back-butter every cut tile and any tile smaller than half-size with adhesive on the tile itself as well as the wall — small tiles have less contact area and rely entirely on full adhesive coverage to stay put. A hollow-backed small tile will crack under the slightest impact.
Sources
- British Ceramic Tile — How to tile a wall: britishceramictile.com
- B&Q — How to tile a wall: diy.com
- HSE — Safe use of angle grinders: hse.gov.uk
Get the Full DIY Guide with DIYnut AI
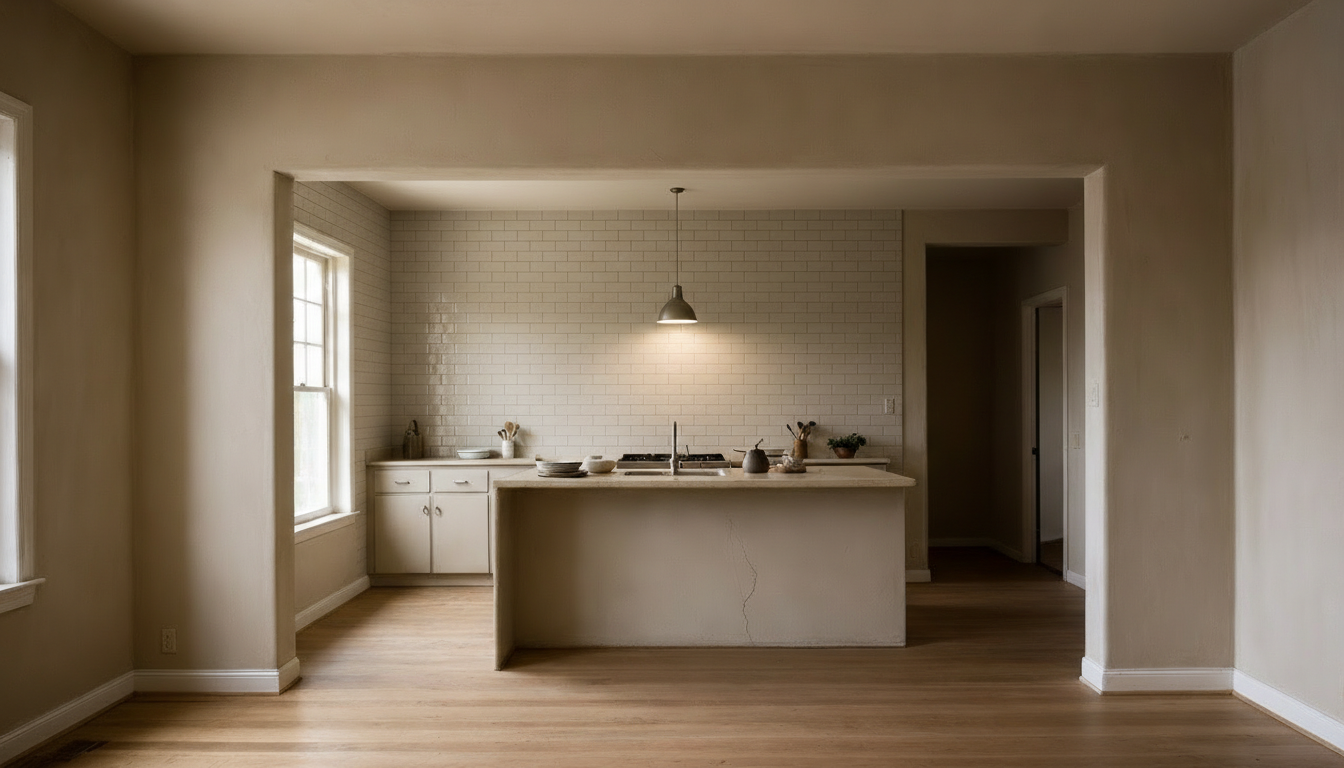
Photograph your space, tell the app what you want, and get an AI-generated after image, full materials list, and step-by-step guide in seconds.
Want to see the future of DIY? Preview DIY Vision →
This guide is for general information only. Always work safely and follow manufacturer instructions. DIYnut accepts no liability for injury or damage arising from DIY work.