How to Hang Lining Paper – DIY Guide
Walls & Plastering › Wallpaper
How to Hang Lining Paper
Prep your walls properly and get a smooth, paint-ready finish first time.
To hang lining paper, size the wall, paste and fold the paper, then hang horizontally or vertically in long lengths, overlapping seams with adjacent strips by 5mm. Smooth out bubbles as you go, trim edges, and allow to dry fully before painting.


- Pasting table
- Pasting brush
- Wallpaper smoothing brush or plastic smoother
- Seam roller
- Tape measure
- Plumb line or spirit level
- Scissors or wallpaper trimming knife
- Bucket
- Lining paper (grade appropriate to wall condition)
- Wallpaper paste
- Sizing solution or diluted wallpaper paste
- Fine surface filler
- Sandpaper (medium and fine grit)
- Dust sheets
- Masking tape
Step-by-Step Guide
Prepare and Repair the Wall Surface
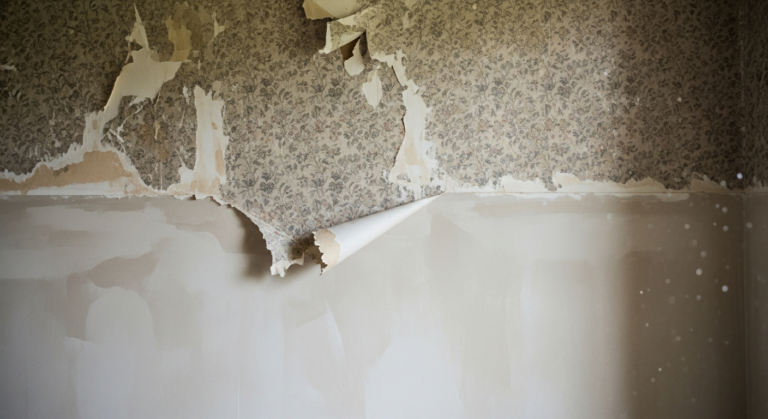
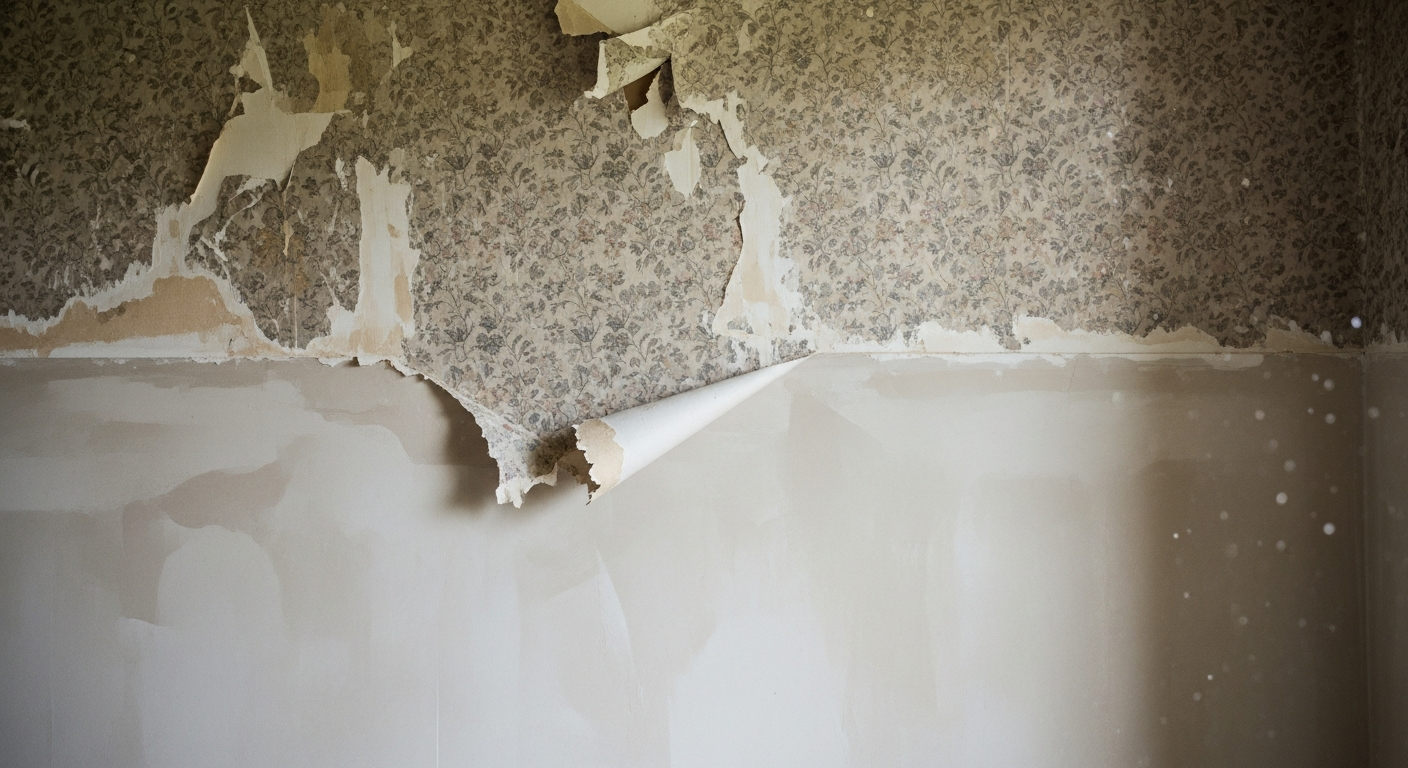
Before anything goes up, the wall must be sound. Fill any cracks or holes with fine surface filler and allow to dry fully — our guide to filling wall cracks covers this in detail. Sand smooth once set, then dust down the entire wall. Lining paper will telegraph any imperfection underneath, so take your time here.
Size the Wall
Apply a sizing solution — either a dedicated product or diluted wallpaper paste — to the entire wall surface using a large brush or roller. Sizing seals porous surfaces, reduces suction, and gives the paste something to grip. Allow it to dry completely before hanging; skipping this step causes paper to slide or dry too fast at the edges.
Cut and Paste the Lining Paper
Measure each length, adding 50mm extra at each end for trimming. Lay the paper face-down on the pasting table and apply paste evenly from the centre outward, working right to the edges to avoid dry strips. Fold the paper loosely — paste-to-paste — in concertina folds without creasing it. Allow it to soak for the time stated on the paste packet (typically 3–5 minutes) so the paper relaxes and becomes pliable.
Hang the Paper Horizontally or Vertically
For painting over, hang lining paper horizontally (cross-lining) wherever possible — this prevents seams from lining up with decorator’s wallpaper joints later. Start at the top of the wall and work downward. Use a spirit level or plumb line to ensure your first length is perfectly level, as every subsequent strip follows from it. Butt edges tightly together; do not overlap. Hanging around corners requires splitting the length and re-aligning on the new face.
Smooth and Trim Each Length
Once the length is in position, use a smoothing brush or plastic smoother to work out any air bubbles from the centre toward the edges. Run the smoother firmly but without tearing the wet paper. Press the paper into the wall-ceiling and wall-skirting junctions, score along the crease with a trimming knife, and peel away the excess. Roll all seams lightly with a seam roller — do not press so hard that paste is squeezed out.
Allow to Dry Before Painting or Papering
Leave the lining paper to dry completely — at minimum 24 hours, longer in cooler or humid conditions. Keep the room ventilated but draught-free; rapid drying causes bubbles and lifting edges. Once fully dry, lightly sand any raised seams with fine-grit sandpaper and dust off before applying paint or hanging wallpaper on top.
Frequently Asked Questions
Should I hang lining paper horizontally or vertically?
Hang horizontally (cross-lining) whenever you plan to paint or paper over it. Horizontal hanging staggers the seams away from vertical wallpaper joints, producing a far smoother finished surface.
What grade of lining paper do I need?
Grade 800 or 1000 is suitable for walls in reasonable condition. Grade 1200 or 1400 suits rougher, older plaster where a thicker paper hides more imperfection. The worse the wall, the heavier the grade.
Can I paint directly over lining paper?
How long should lining paper dry before painting?
Allow at least 24 hours in a well-ventilated room at normal temperature. In cold or damp conditions allow 48 hours. Painting too soon traps moisture and causes the paper to lift.
Do I need to remove old wallpaper before lining?
When cross-lining a large wall, cut all your lengths before you start pasting and number them lightly on the back in pencil — this keeps you working at a steady pace without scrambling to measure mid-job. A consistent soaking time between paste-up and hanging is just as important as the paste itself; set a timer for each length so the paper behaves the same way every time.
Sources
- Which? — How to hang lining paper — which.co.uk
- Decorating Forum UK — Lining paper grades and uses — decoratingforum.co.uk
- HSE — Safe use of stepladders and working at height — hse.gov.uk
This guide is for general information only. Always work safely and follow manufacturer instructions. DIYnut accepts no liability for injury or damage arising from DIY work.